Explore Custom Models in RightCapital

This article is designed to provide you with an overview of each Model type within RightCapital. For more detailed information on a particular model type, please use the hyperlinks provided in each section below:
Portfolios Tab

To create a new, custom model portfolio, click the '+Add Portfolio' button in the upper left. You can also make a copy of an existing model by clicking the copy icon next to the model name. Use the Model Type menu on the right to determine whether you want to build an Asset Class Based model, or a Holdings Based model:
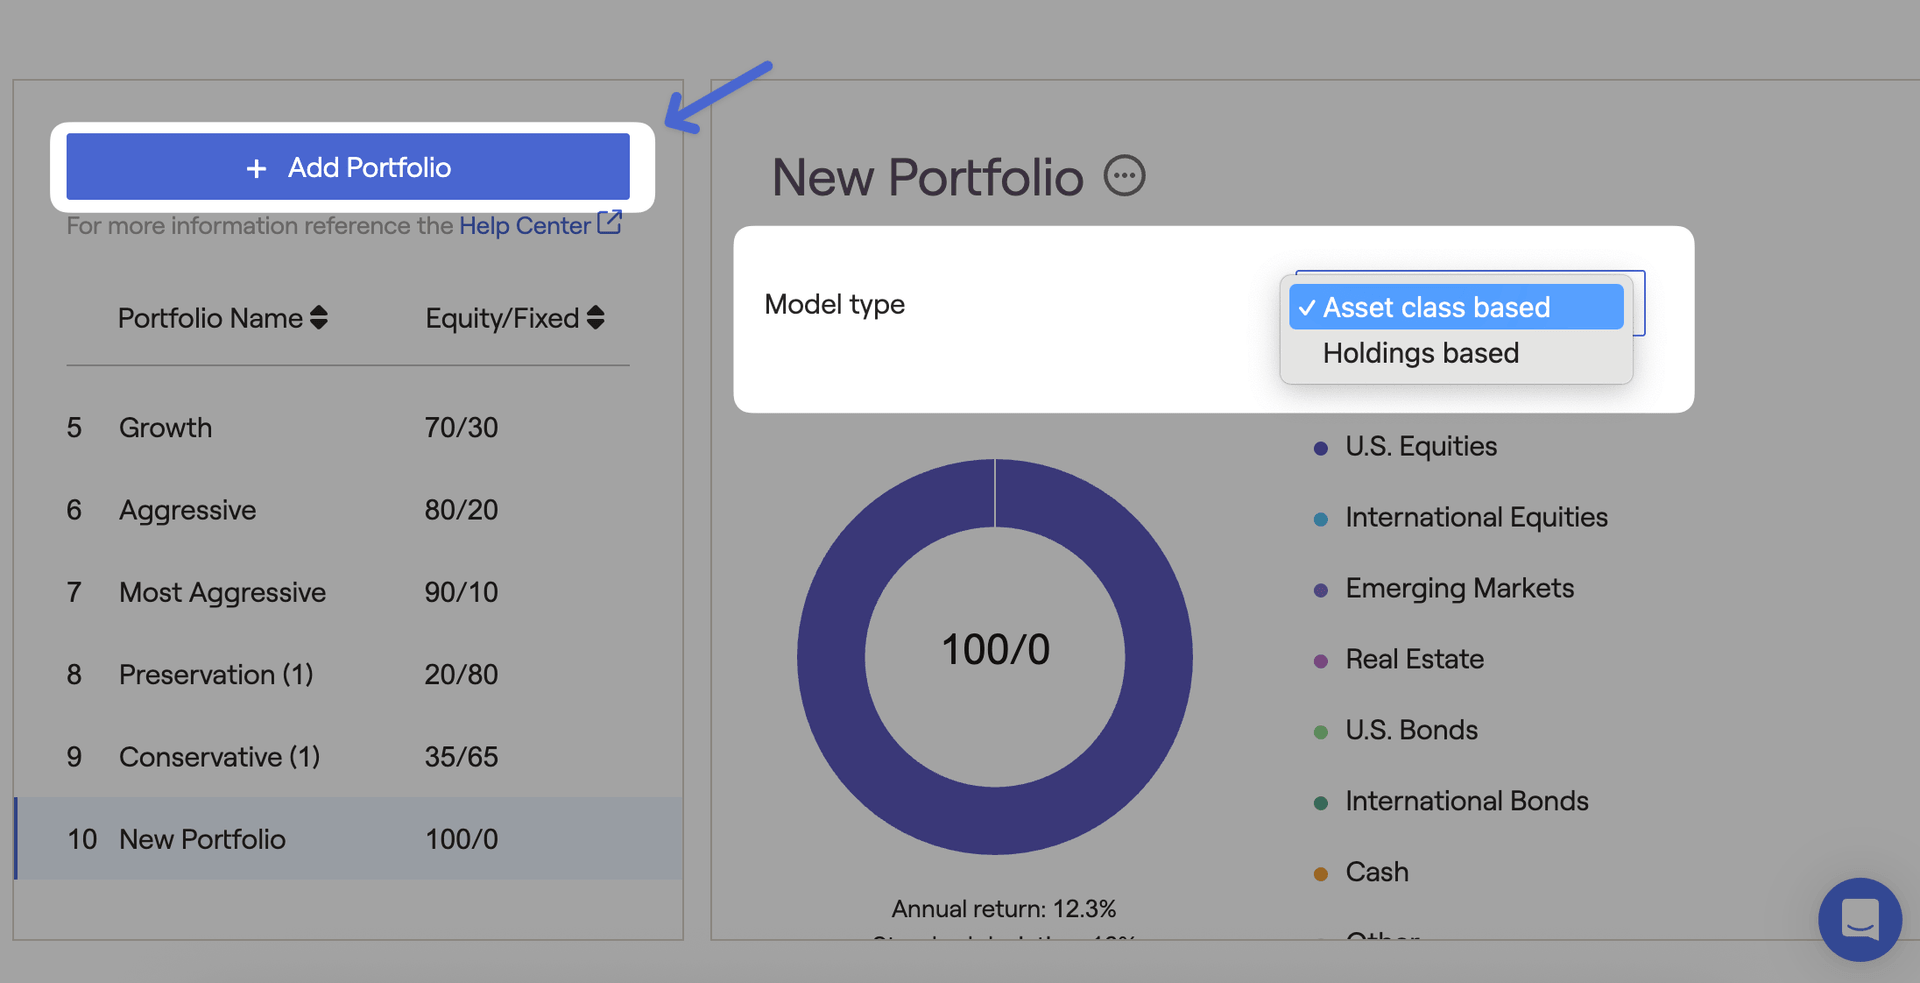
When creating an Asset Class Based model, you can determine the allocation of the portfolio by manually entering the percentages for each asset class. When creating a Holdings Based model, the allocation is determined by adding individual holdings to the portfolio, and specifying the ticker symbol and quantity of each holding.
Model portfolios can be applied in several places within a client plan:
- When allocating a client's investments in the Profile > Net Worth tab
- When selecting a target portfolio in the Investment module
- When proposing a new asset allocation in the Retirement > Analysis > Action Items.
For more specific details on the default model portfolios, as well as a walkthrough of how to create a custom model portfolio using each Model Type, please see the article below:
Glide Tab
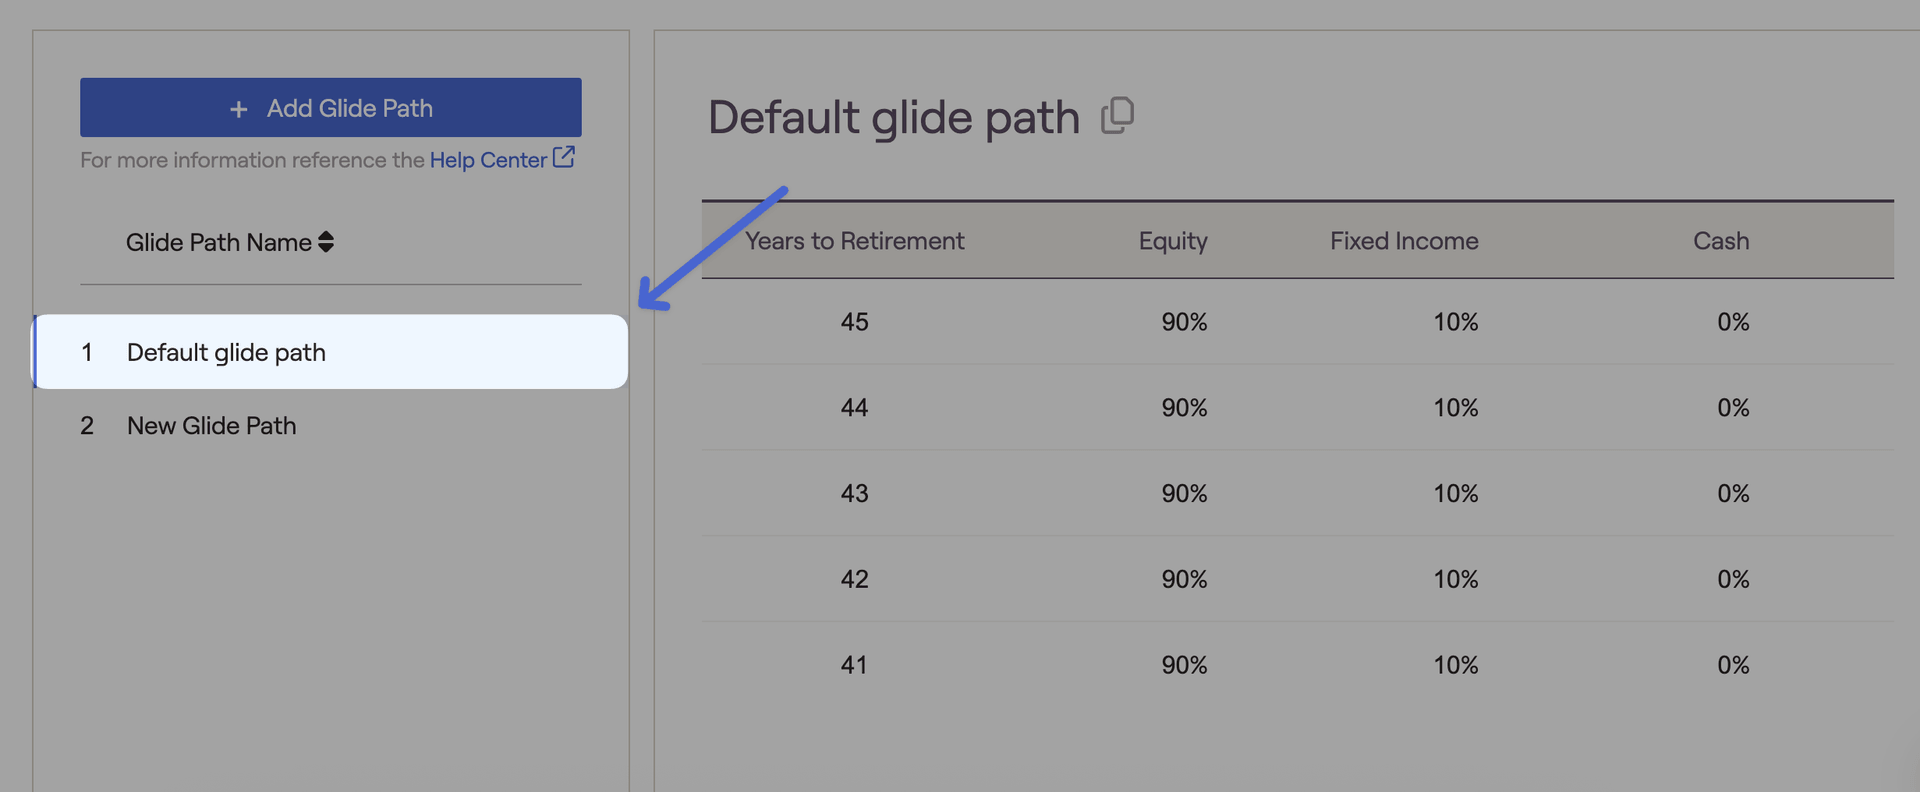
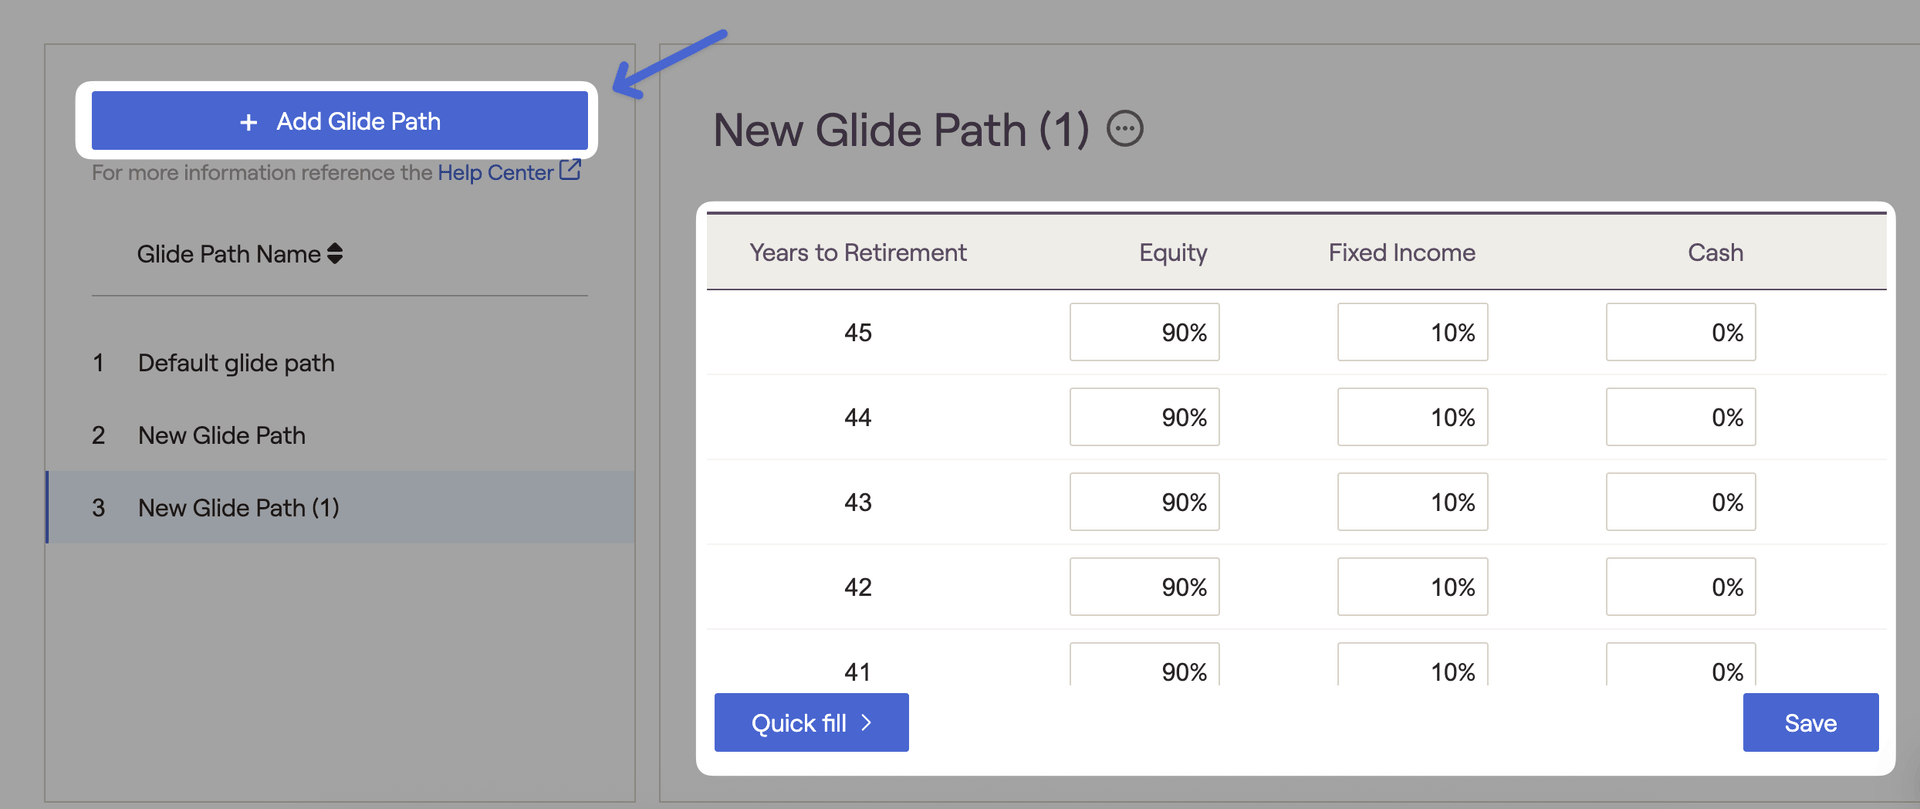
To create a new, custom glide path, click the '+Add Glide Path' button in the upper left. You can also make a copy of an existing glide path by clicking the copy icon next to the model name. Using the detailed schedule on the right side of the page, enter the equity, fixed income, and cash percentages for each year to illustrate the desired transition in allocation over time:
For more specific details on the default glide path, as well as a walkthrough of how to create and apply a custom glide path, please see the article below:
Scenarios Tab
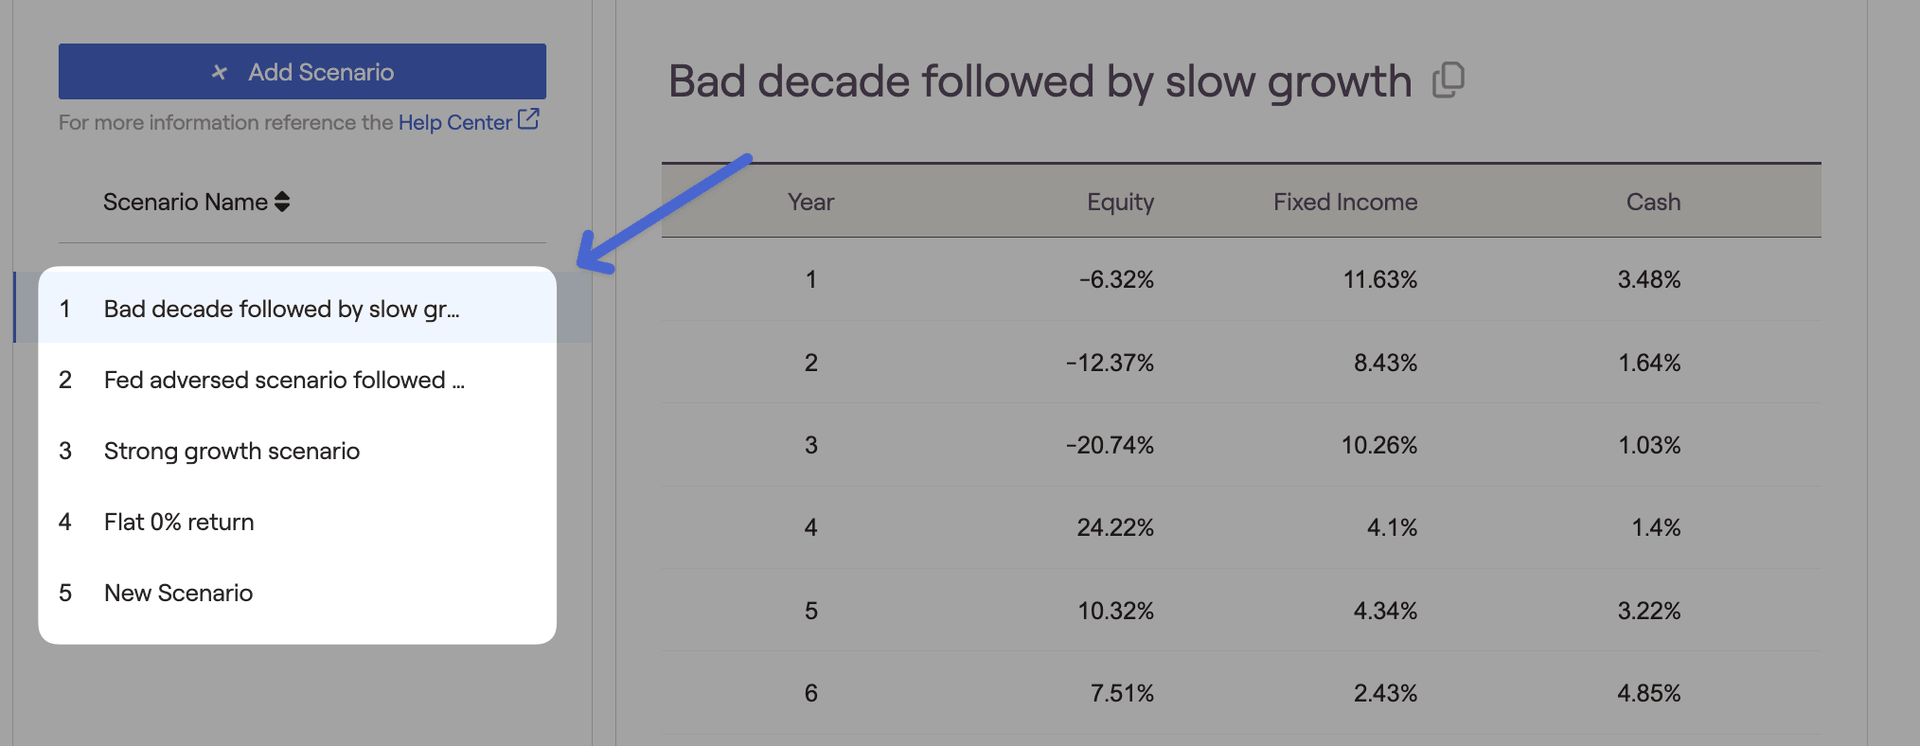
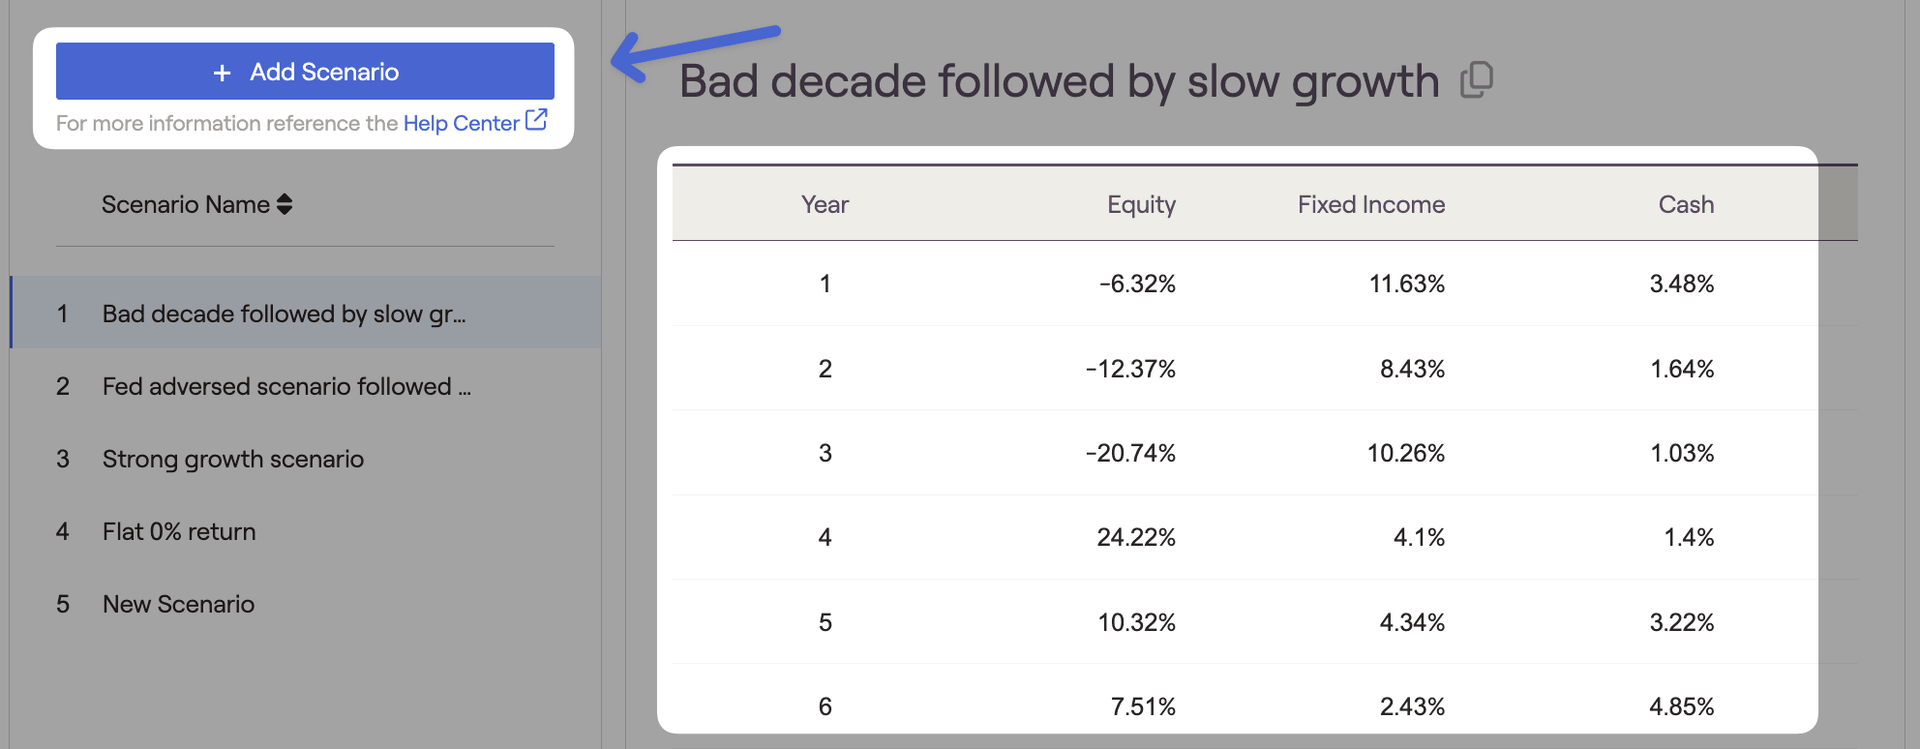
To create a new, custom return scenario, click the '+Add Scenario' button in the upper left. You can also make a copy of an existing scenario by clicking the copy icon next to the model name. Using the detailed schedule on the right side of the page, enter the equity, fixed income, and cash percentages for each year to illustrate the desired sequence of return you would like to use for that scenario:
Return Scenarios can be applied in several places within a client plan:
- The Retirement > Analysis module, within the Comparisons and Retirement Details tabs
- When creating a stock plan proposal within the "..." More Menu > Stock Plans > Analysis tab
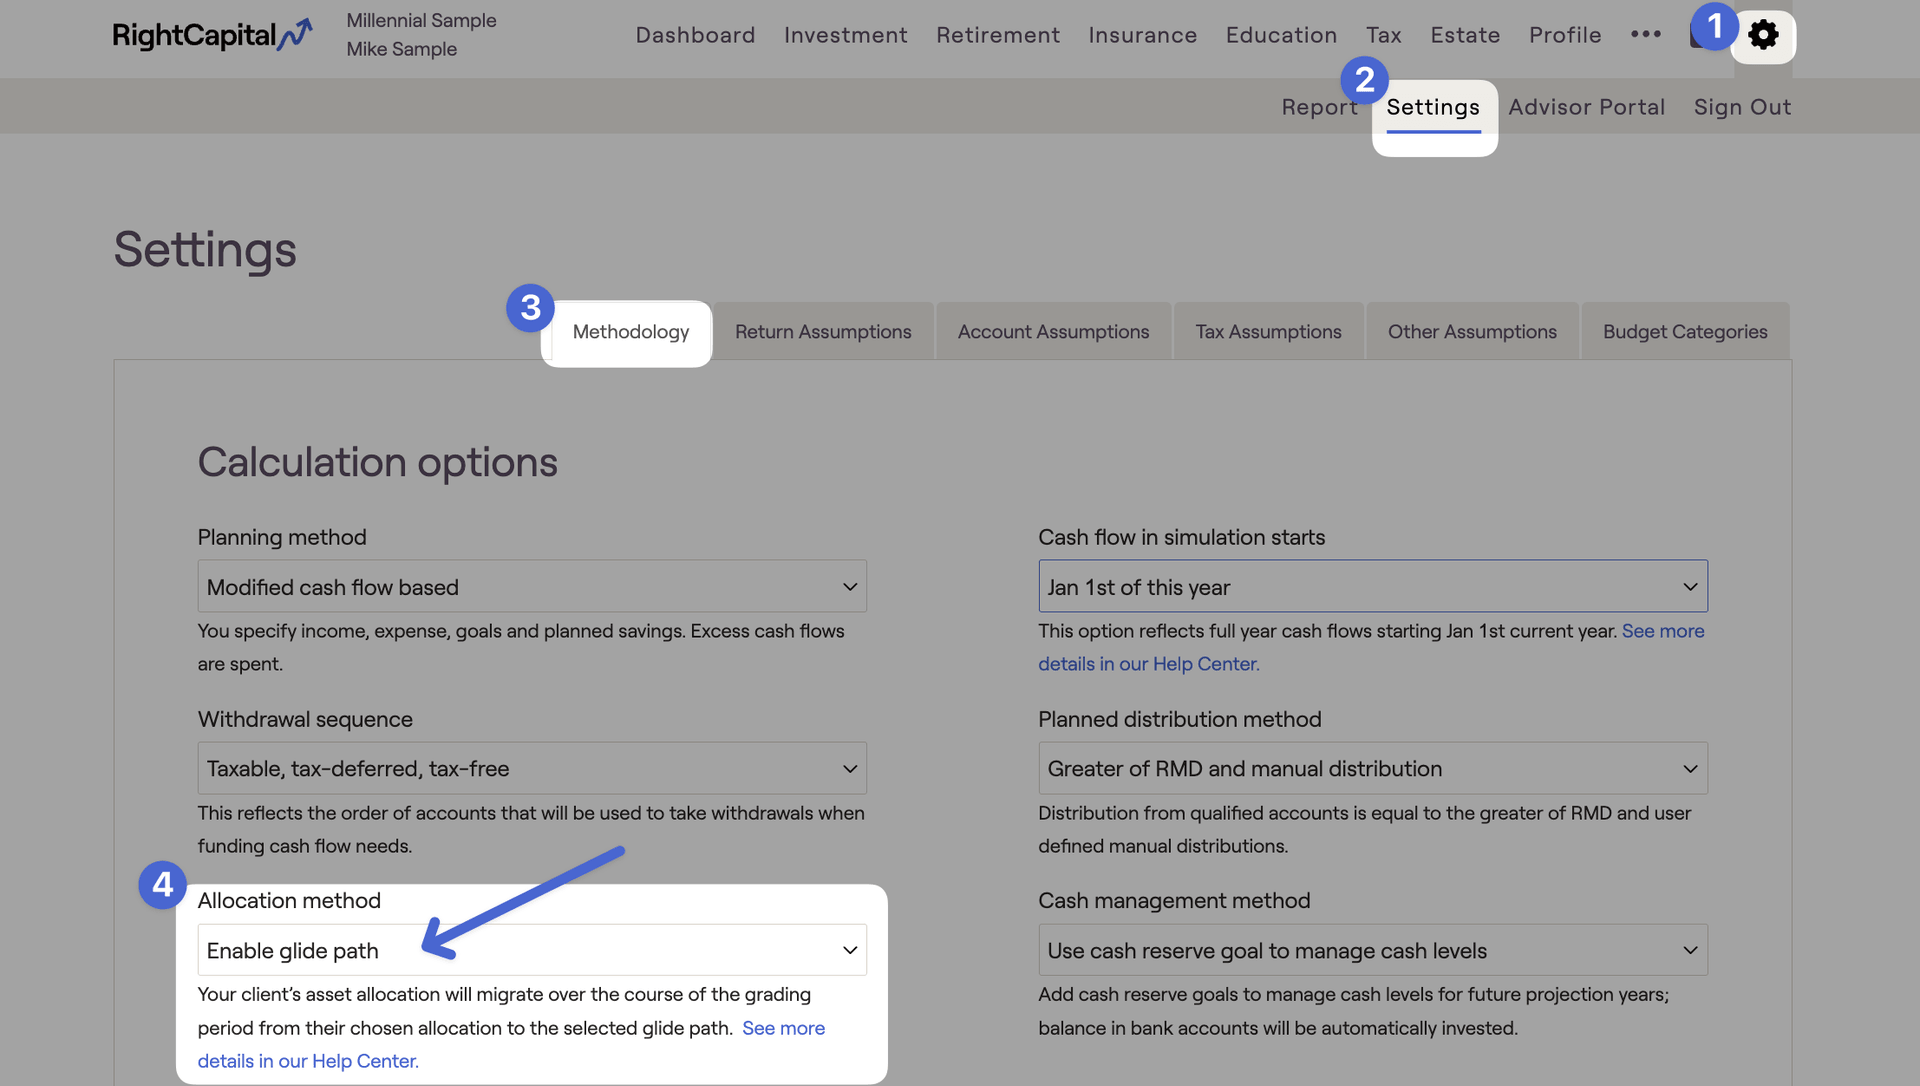
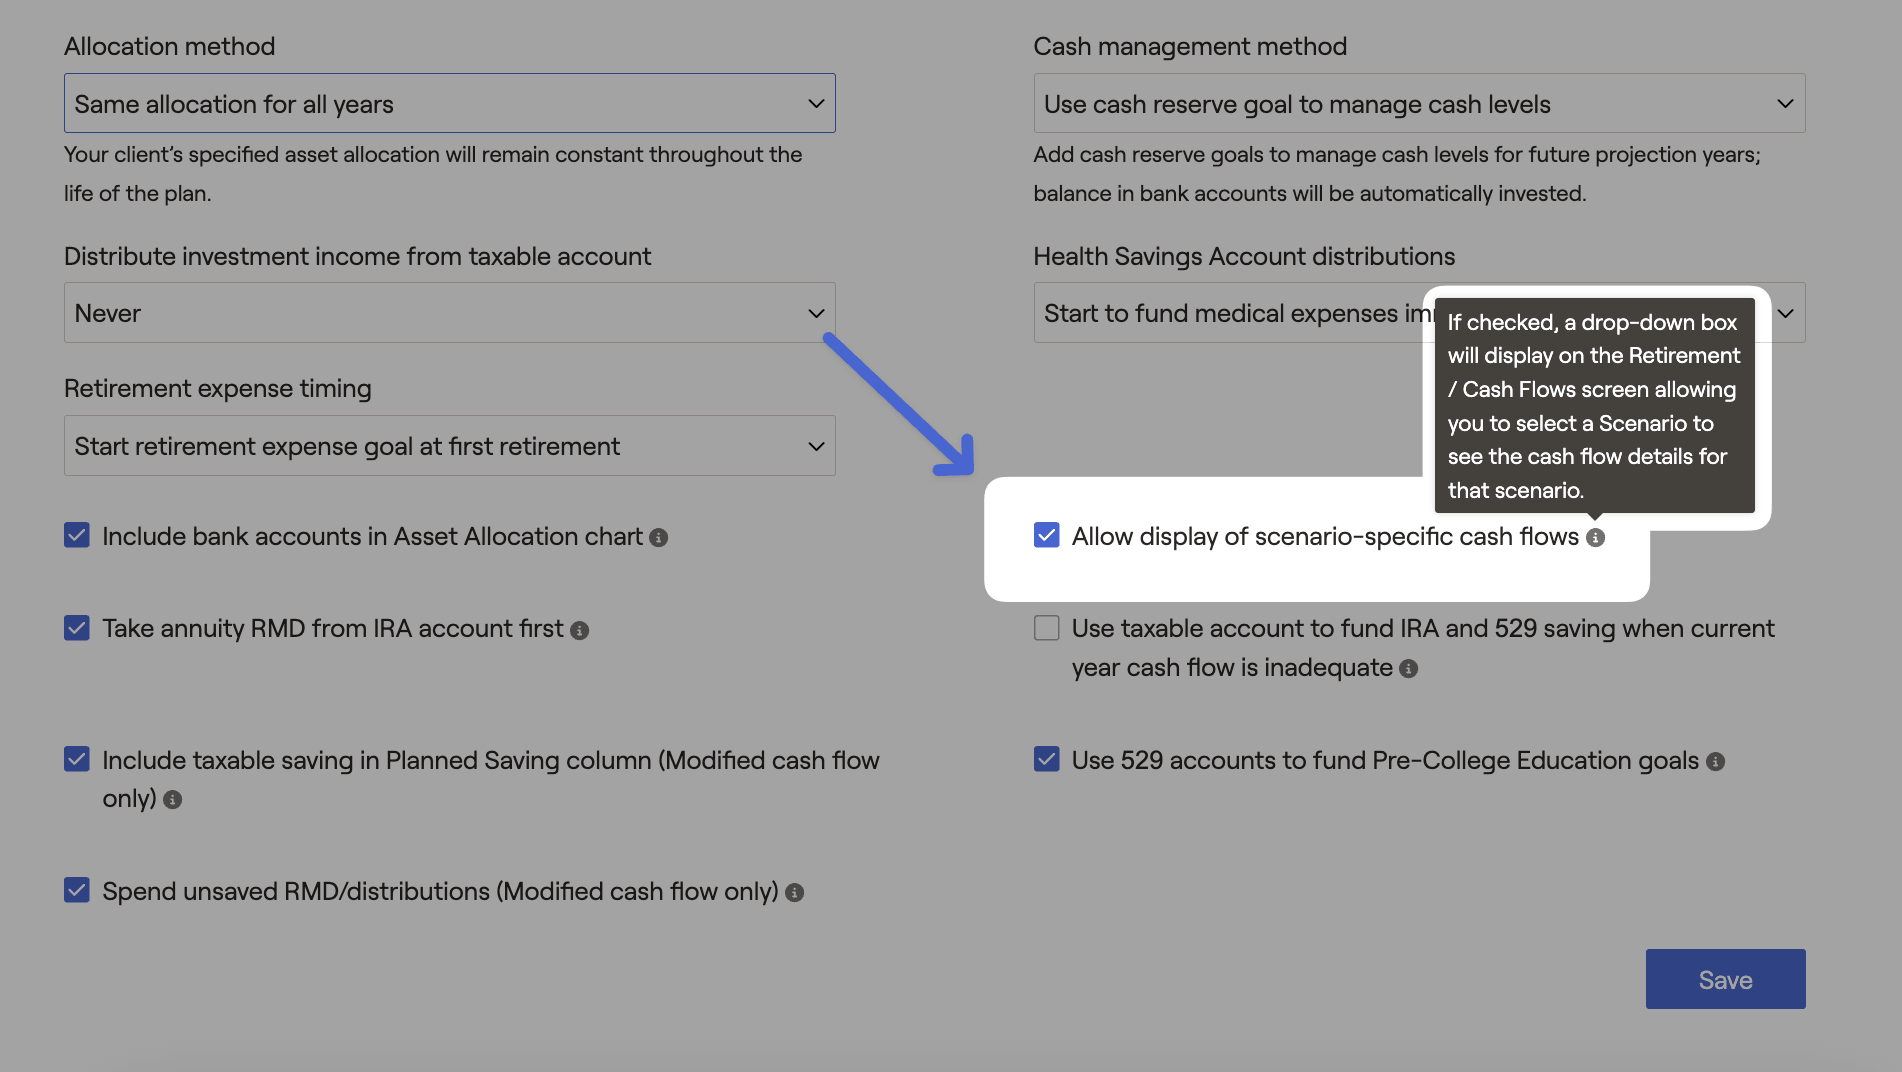
- Return scenarios can be turned on within the Retirement > Cash Flows, by navigating to the Gear Icon > Settings > Methodology page, and checking the 'Allow display of scenario-specific cash flows' setting:
Vesting Tab
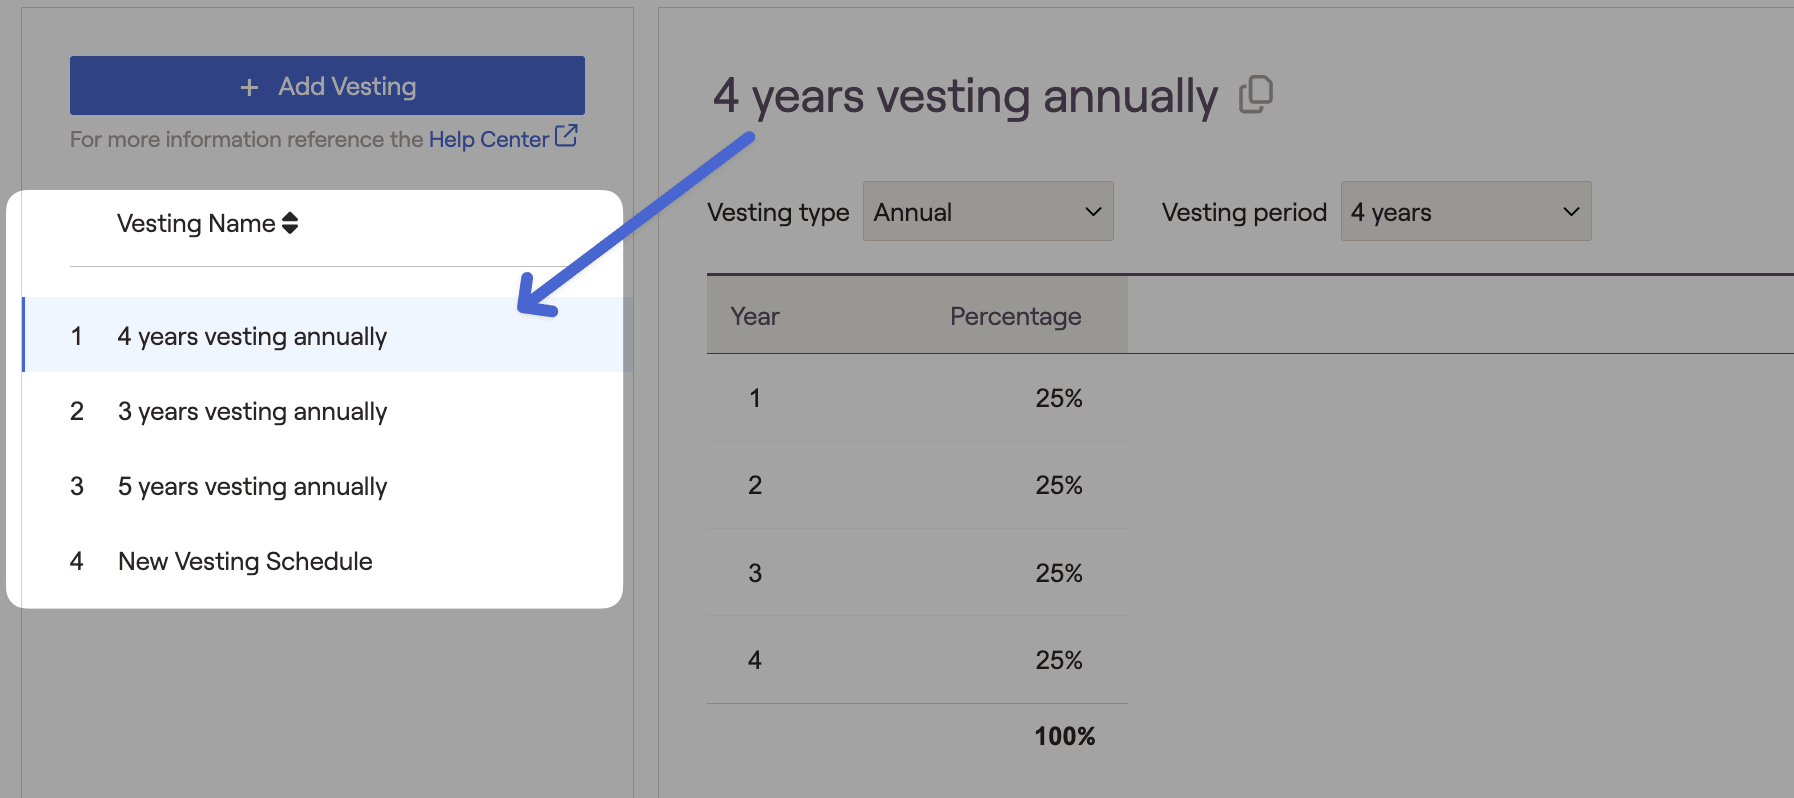
To create a new, custom vesting schedule, click the '+ Add Vesting' button in the upper left. You can also make a copy of an existing schedule by clicking the copy icon next to the model name. Use the schedule on the right side of the page to determine the vesting type, vesting period, and percentage vested for each year:
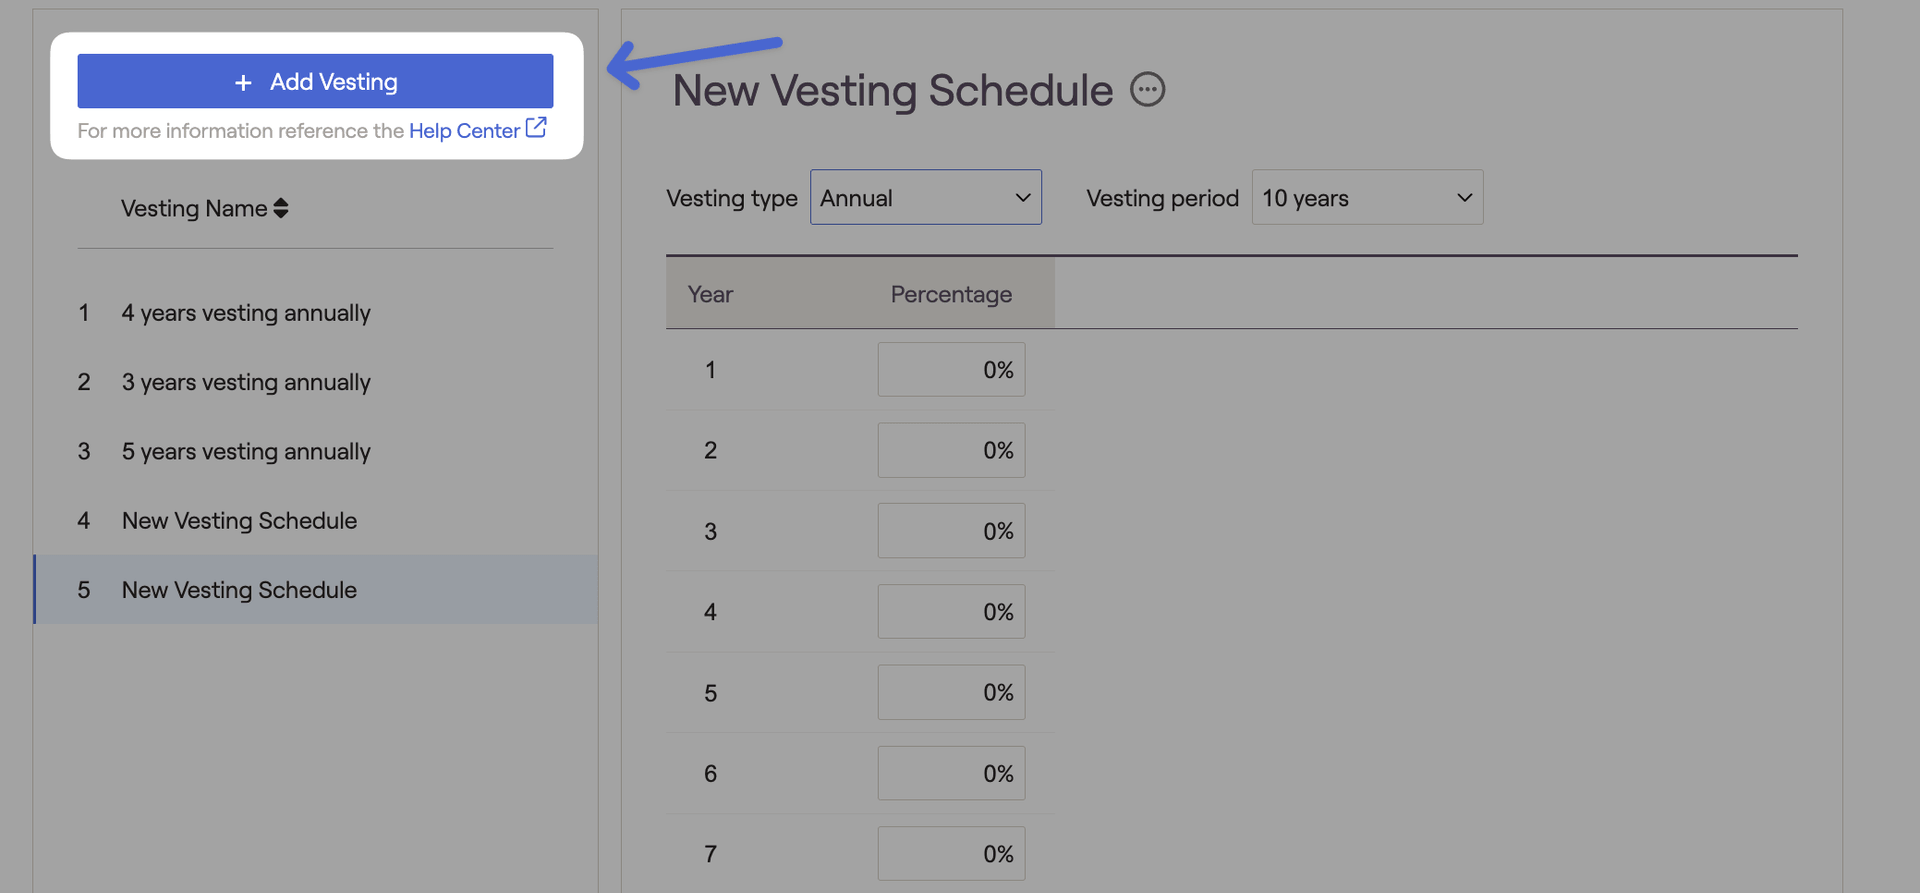
Vesting Type allows you to determine the time interval between each row of the schedule. Vesting Period allows you to choose the total number of years for your vesting schedule.
For more specific details on the default vesting schedules, as well as a walkthrough of how to create and apply a custom vesting schedule, please see the article below:
Retirement Spending Tab
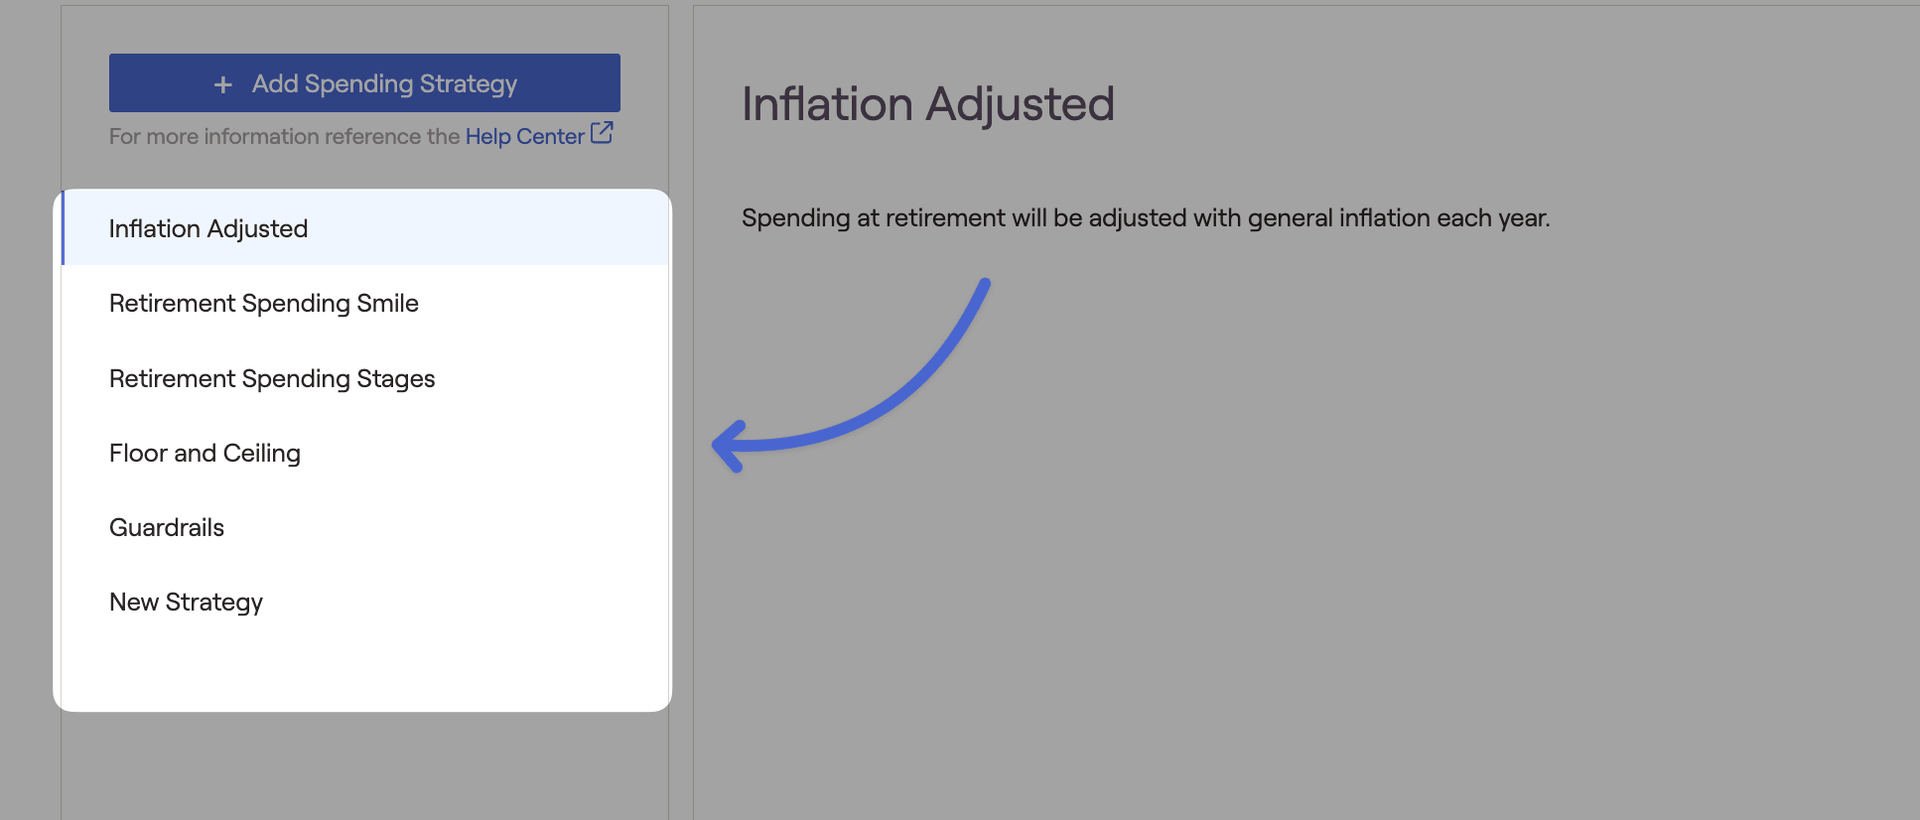
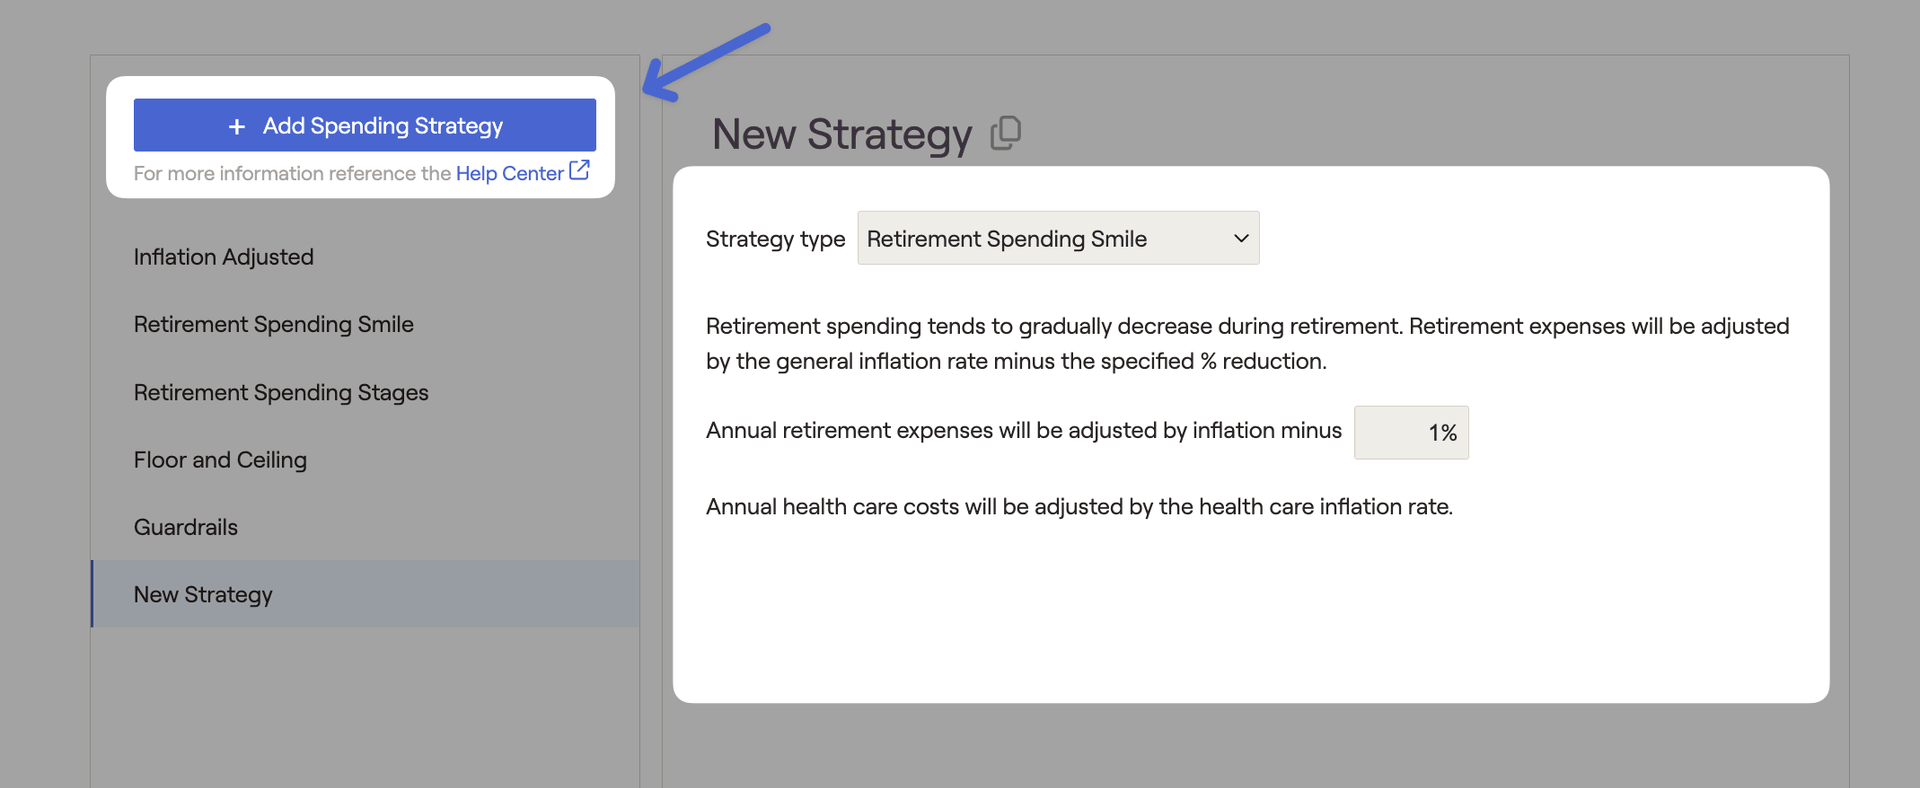
Depending on your chosen strategy type, the rules and editable fields for your custom strategy will change. You can adjust the details and percentages for the default spending strategies, as well.
Retirement Spending Strategies can be applied in two places within a client plan:
- When entering a client's retirement living expenses in the Profile > Goals tab.
- When proposing a new spending strategy in the Retirement > Analysis > Action Items.
For more specific details on each type of spending strategy, click the link below:
For a walkthrough of how to create and apply a custom spending strategy, please see the article below:
Annuities Tab


After being saved, Annuity Models can be applied in several places within a client plan:
- When entering an annuity as an asset in the Profile > Net Worth tab
- When proposing an annuity purchase in the Retirement > Analysis > Action Items.
For a more detailed walkthrough on creating and applying annuity models, please see the article below:


