Optimize Your Workflow in RightCapital
RightFlows, our integrated workflow management tool, aims to elevate your practice by allowing you to curate and manage your unique financial planning workflows, without ever having to leave RightCapital. Whether you're looking to increase client engagement, boost your personal efficiency, or streamline the planning process for your entire organization, RightFlows equips you with the tools you need to succeed.
- Consistency & Collaboration: Optimize your SOPs, stay on top of important tasks, and collaborate with your colleagues by assigning pre-defined workflows to yourself or teammates.
- Increase Client Engagement: Assign tasks to clients within a workflow to enhance your client communication and directly involve your clients in the planning process.
- Convenience & Efficiency: Save time and streamline your various planning processes all in RightCapital, without the need for an outside management solution.
Accessing RightFlows
If you are a basic or premium subscriber looking to upgrade to platinum, reach out to your dedicated sales representative (or sales@rightcapital.com).
Adding Workflows
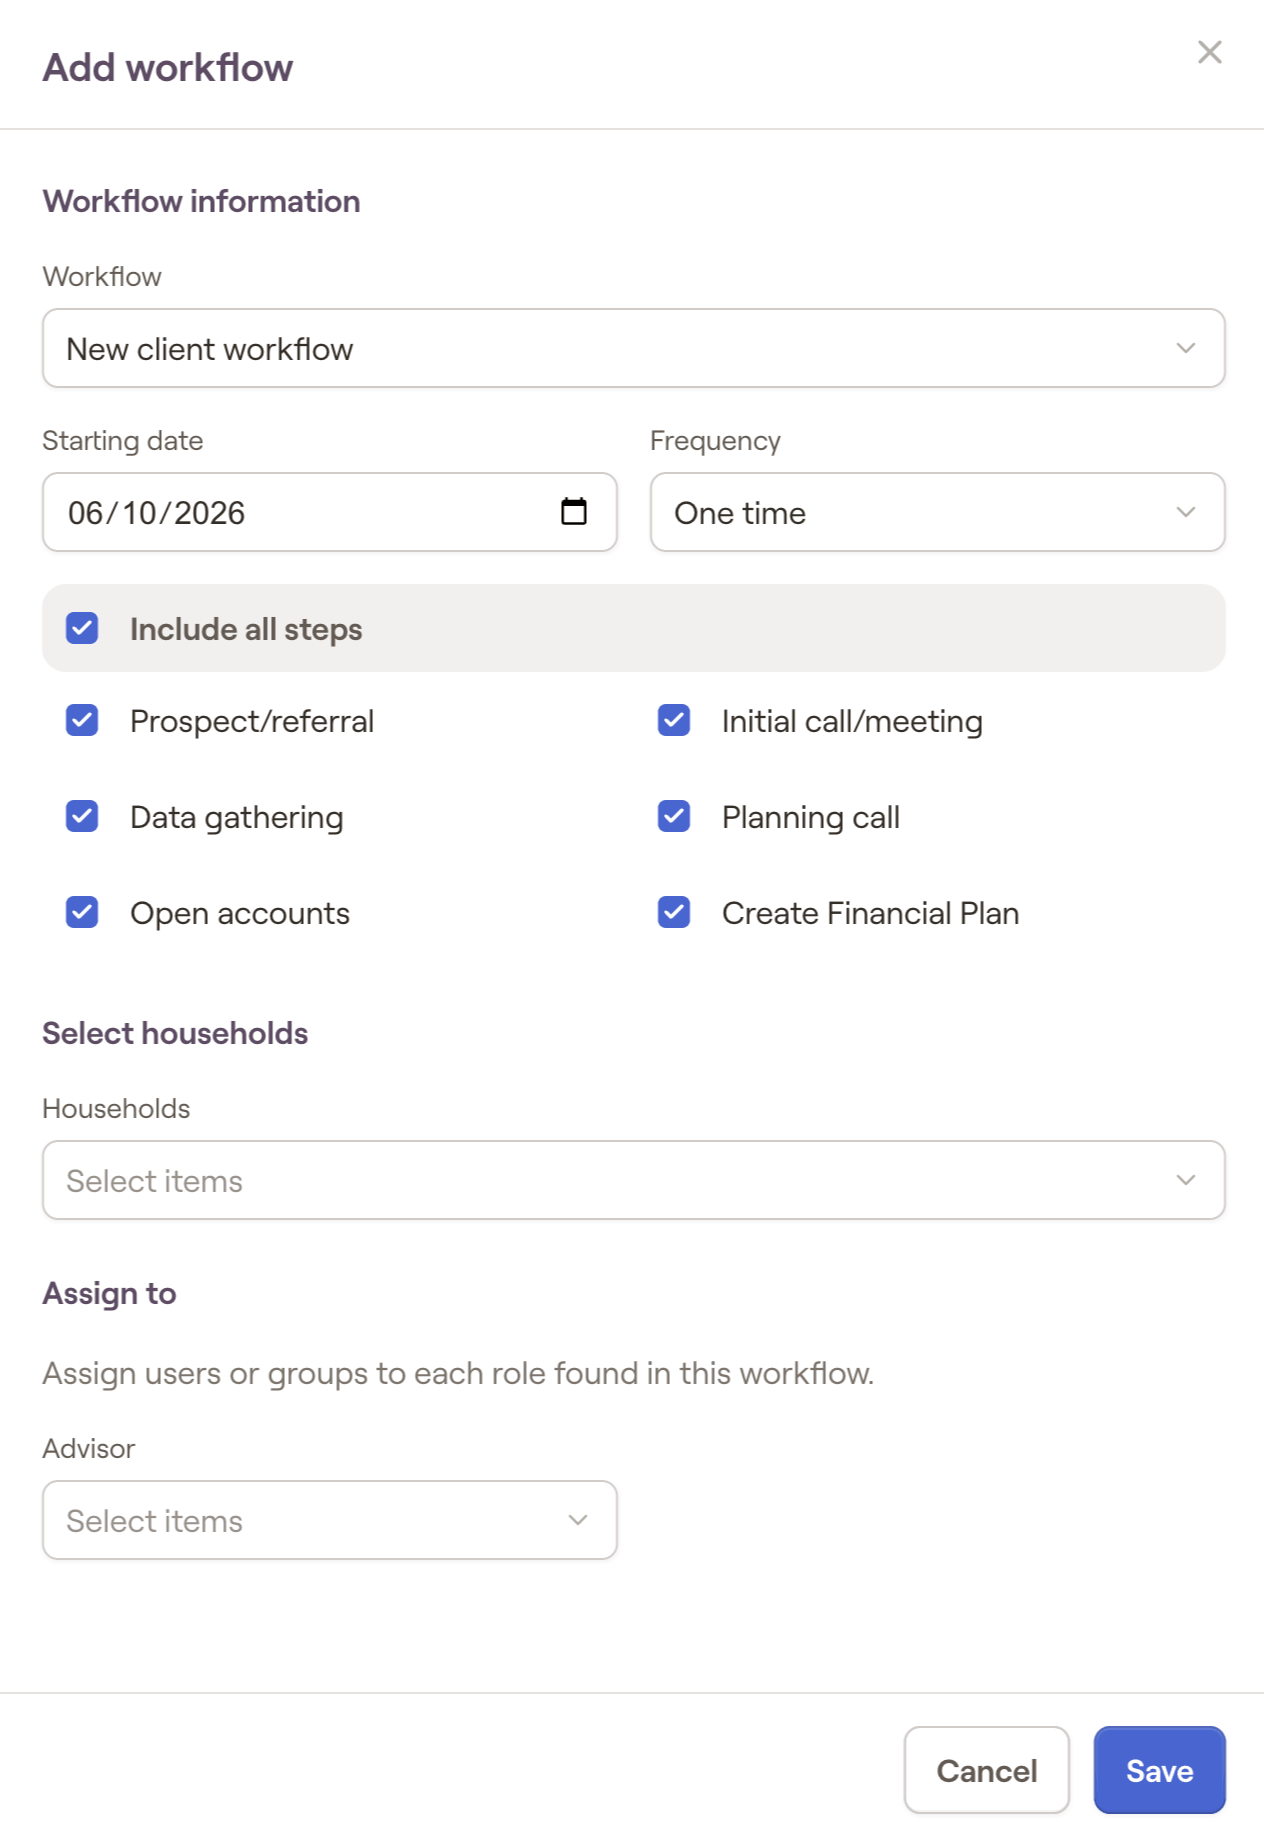
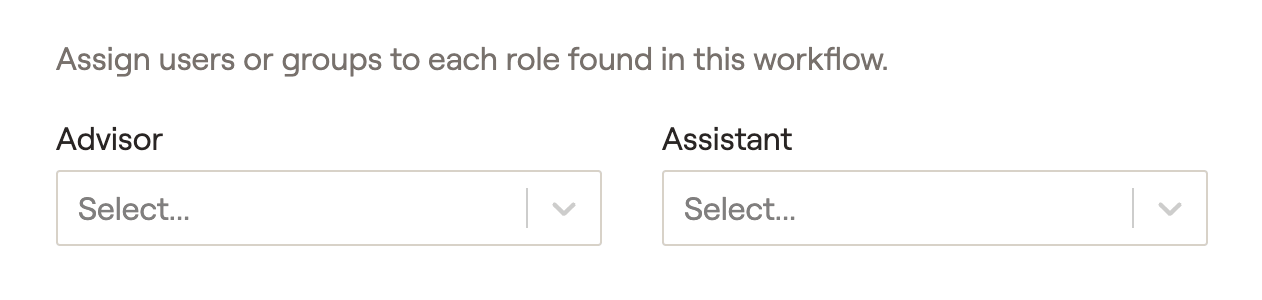
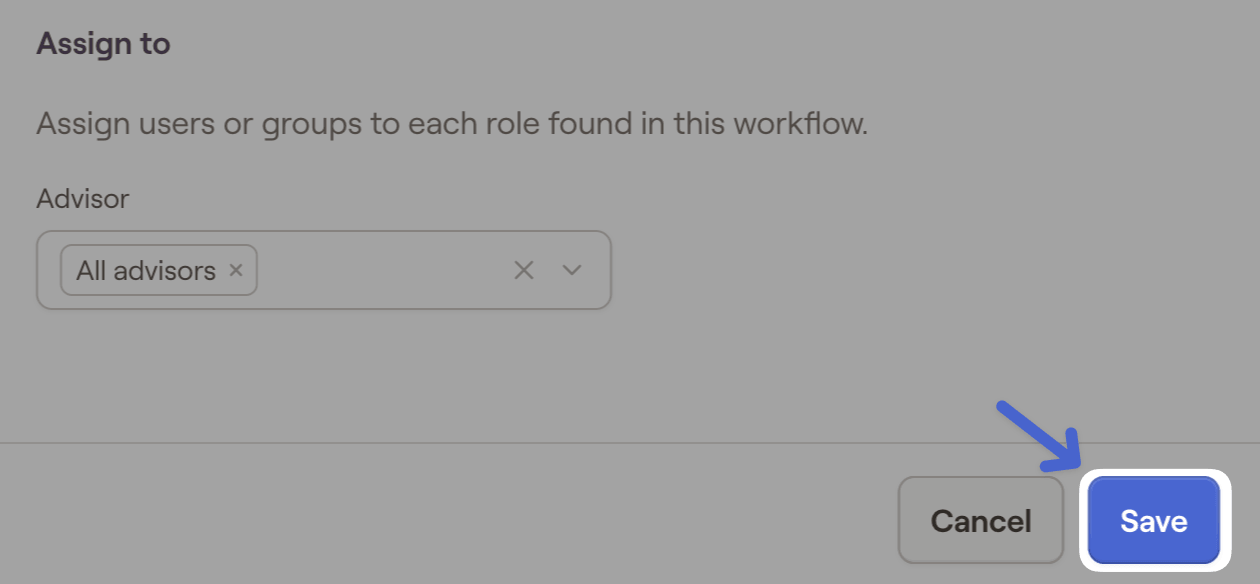
The advisor/assistant roles are assigned to individual tasks within a workflow template at the firm level. RightFlows groups are also created by super admins at the firm level.
Once the details of your workflow are dialed in, click Save in the lower right corner to finish creating that workflow.
Managing the 'All Workflows' Page
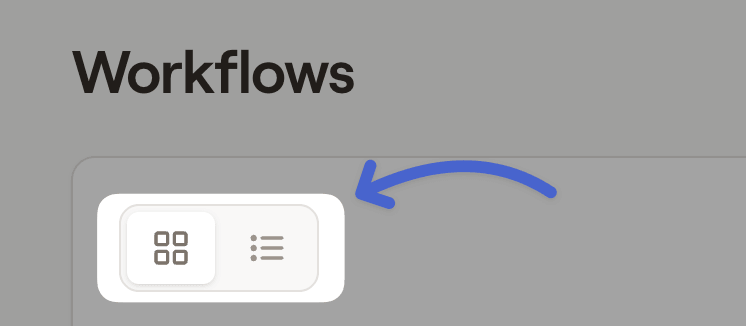
Once a workflow has been added and saved, it will be assigned to your selected client(s) and will appear on the 'All Workflows' page. This is your dashboard for viewing and managing all of your workflows, all in one place. You can toggle between a Table View and Board View by clicking the icon below 'Workflows'.

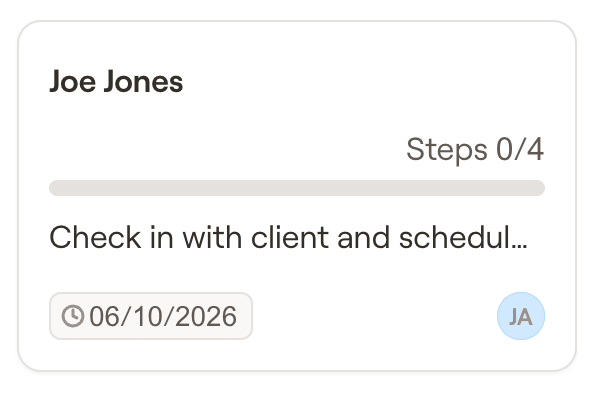
Key information for each workflow will be displayed on the 'All Workflows' page for each workflow, including workflow progress, current step, the due date of the next task, and the advisor(s) to whom the workflow is assigned.
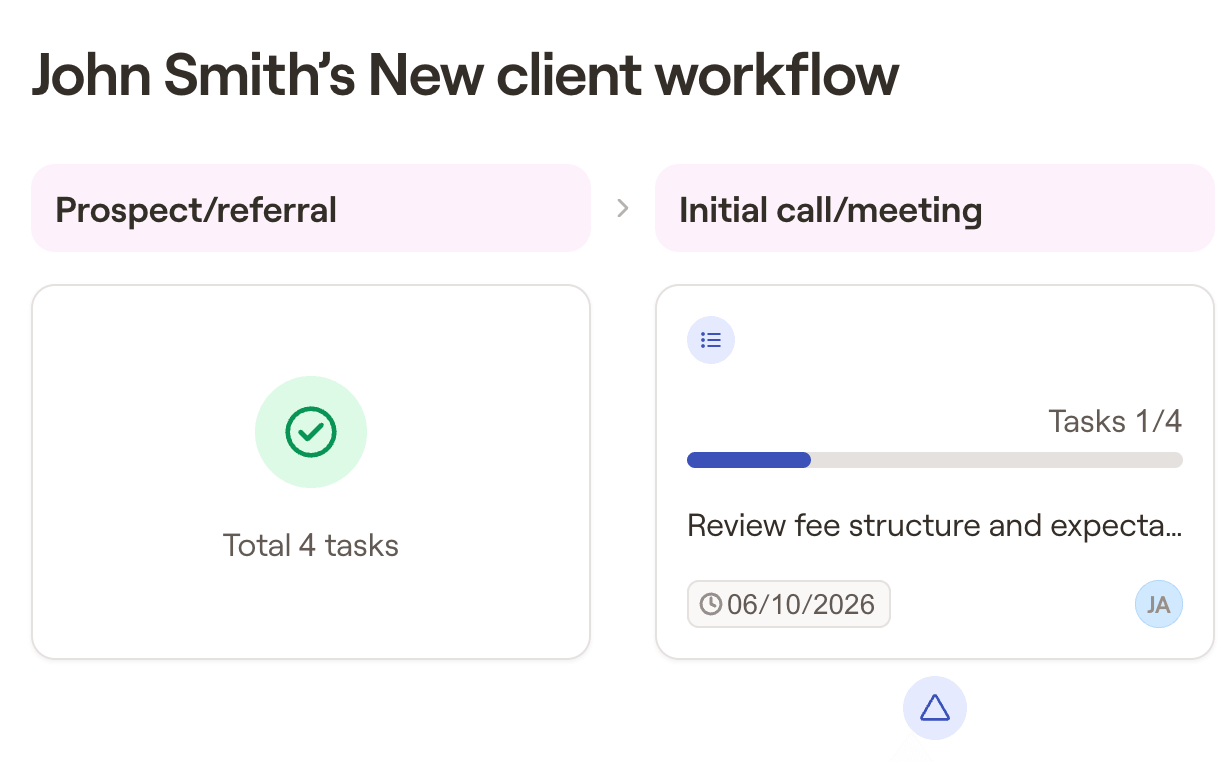
Managing Individual Workflows
From the 'All Workflows' page, open an individual client workflow by clicking into it. This will "zoom in" to the workflow, allowing you to view the progress of each individual step. Completed steps will be marked with a checkmark icon, and the step that is currently active will be highlighted with a blue arrow. The date that the workflow began can be seen in the lower left.

Completing Tasks
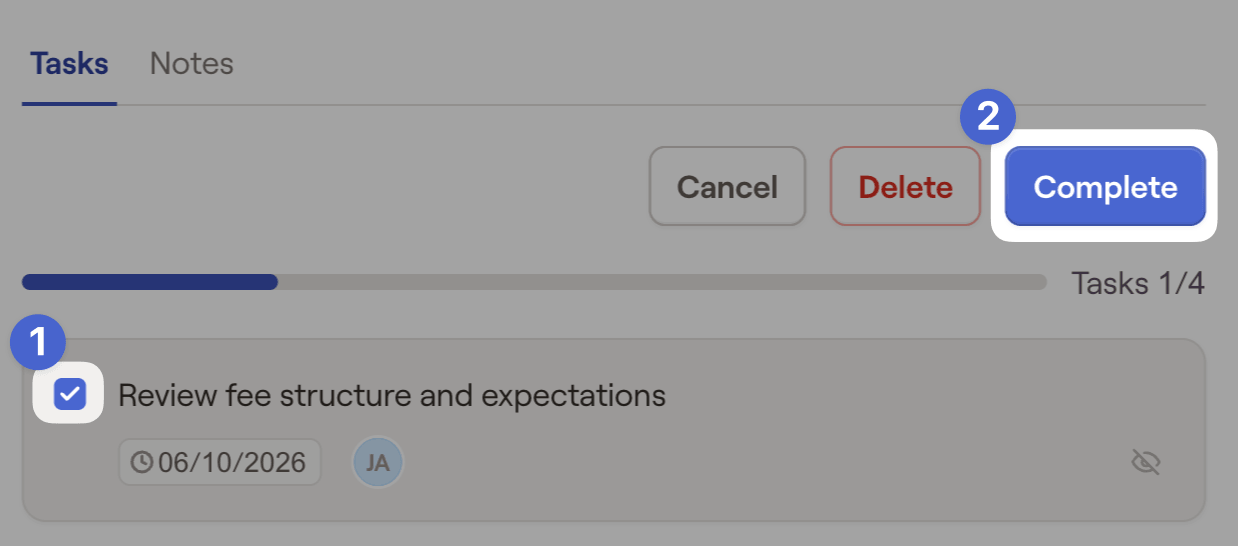
Completing Steps
Once all tasks within a step have been completed, that step will be marked as complete, and the next step will be automatically activated.
Completing Workflows
Once all steps within a workflow have been completed, the entire workflow will be marked as complete. Once a workflow has been completed, it will be recategorized from "active" to "completed" on the All Workflows dashboard. Completed workflows can be viewed by selecting 'Completed Workflows' from the second dropdown on the All Workflows page.
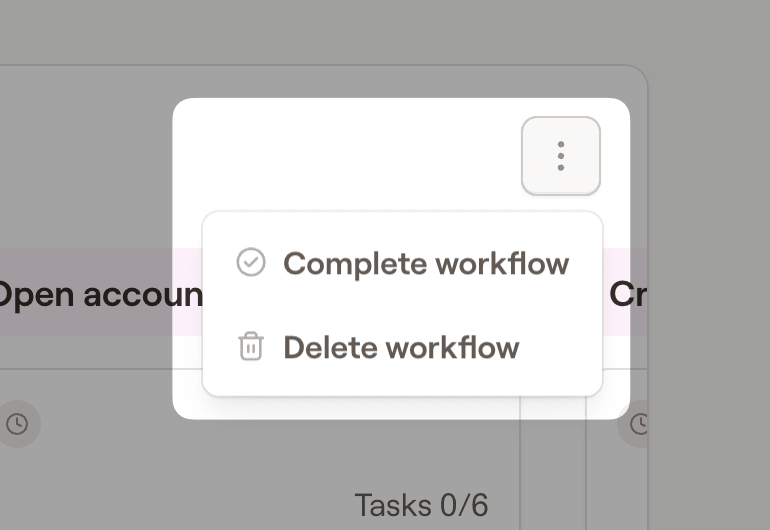
Deleting Workflows
If necessary, you have the ability to quickly complete or delete an entire workflow. To do this, click into the workflow, and then click the "..." icon in the upper right.
Customizing Tasks Within a Workflow
In addition to marking tasks as complete, RightFlows provides the flexibility for you to add additional tasks and make numerous edits to existing tasks within a workflow. In this way, you have the ability to fully tailor a particular workflow to your individual preferences, or to the needs of a specific client.
Editing Tasks
To edit a task, first click into your workflow, then click into a particular step, and then click into the individual task that you wish to edit. Within this window, you are able to fully customize the details of that task as you see fit:
Adjust the due date of the task
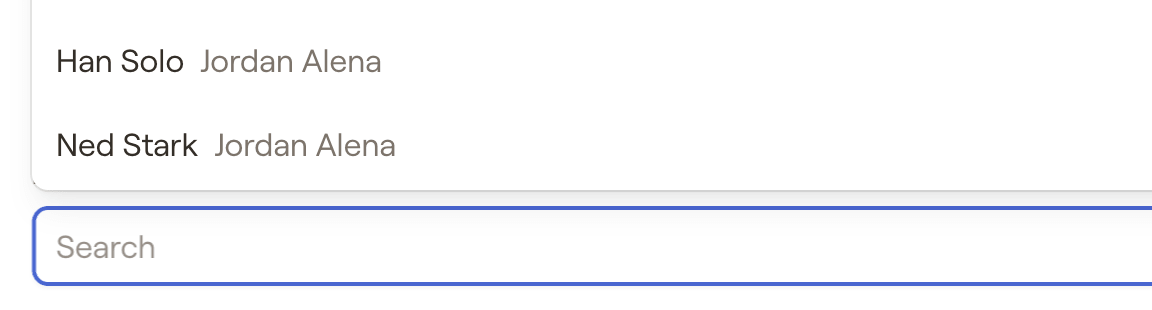
Reassign the task to different or additional users
Update the priority of the task (high, low, or none)
Change whether or not the task is visible to the client
Alter the description for the task

Adding New Tasks
To add a new task, first click into your workflow, then click into a particular step, and then click the blue 'Add Task' button in the upper right. This will open a drawer on the right of your screen, allowing you to dial in the details of that new task. Once completed, click 'Save' to add your new task to that step within your workflow.

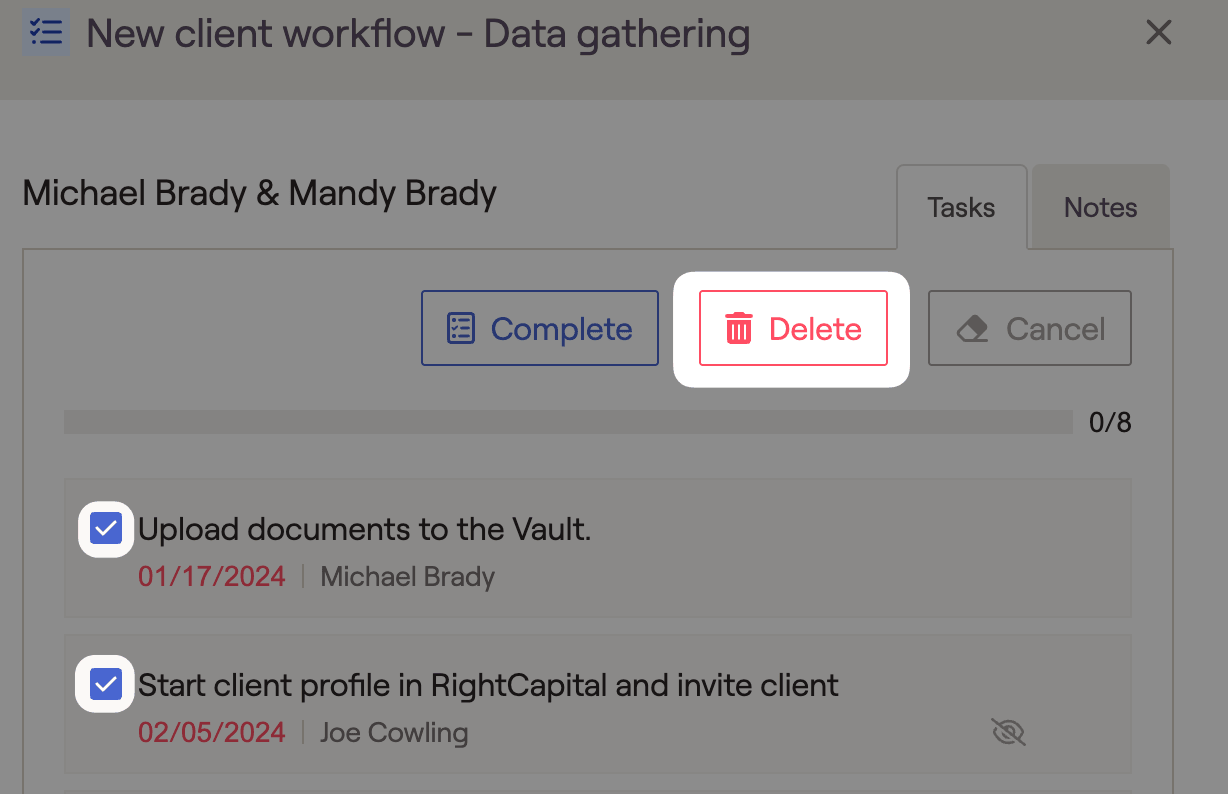
Deleting Tasks
If you need to delete one or more tasks from a particular step, open the step and check the boxes for the tasks you wish to delete. Rather than clicking Complete, click Delete to fully remove those tasks from the workflow.
Editing Steps Within a Workflow
Outside of making edits at the task level, you also have the ability to take advisor notes at the step level, in addition to deleting entire steps if you find that they are not required for that specific workflow.
Adding Notes
To add notes within a step, click into that workflow, and then again into the individual step. Click into the Notes subtab within this drawer, and then click the blue Add Note button. These notes are only visible at the advisor level, and will never be visible to your clients.

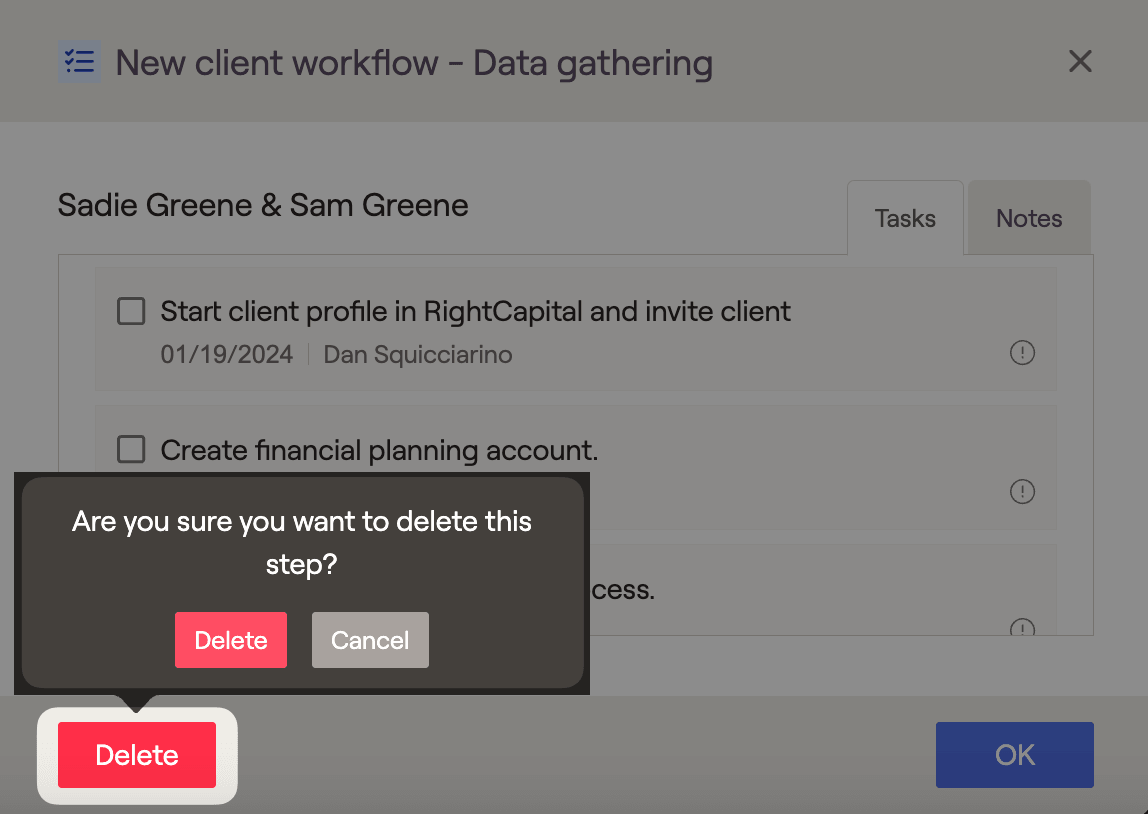
Deleting Steps
If you need to delete a step from a particular workflow, open the step and click the Delete button in the lower right. Click Delete again within the prompt that appears to fully remove that step from the workflow.
The Client Experience

Clients must be both invited to access their portal, and given access to the Dashboard > Tasks tab in their Planning Access checklist, in order to see tasks and actively participate in a workflow.
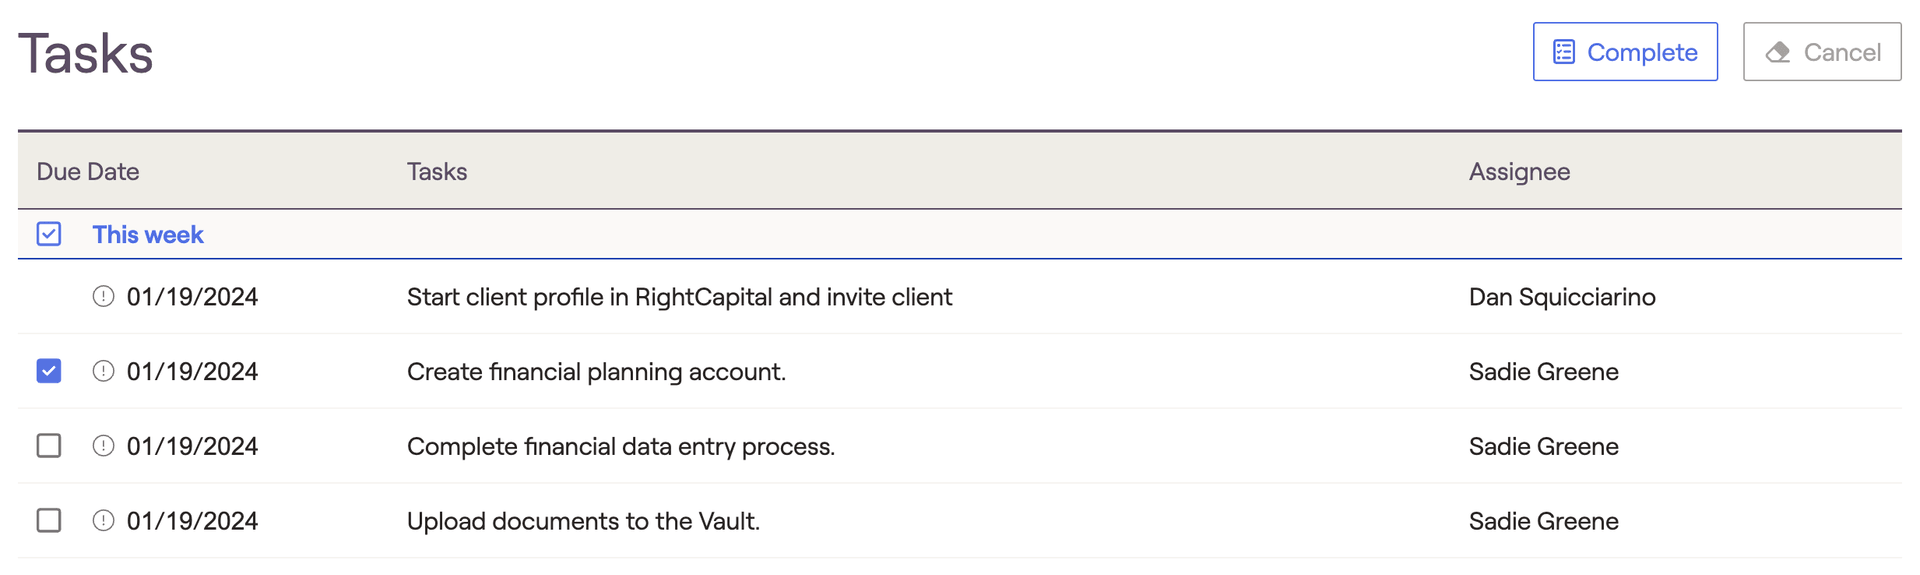
Marking Tasks Complete
For tasks that have been assigned to the client or co-client, clients will have the ability to mark those tasks "Complete" from the client side by checking the box next to the task, and then clicking Complete in the upper right. Tasks can also be viewed and completed via the Tasks tab in the RightCapital mobile app.