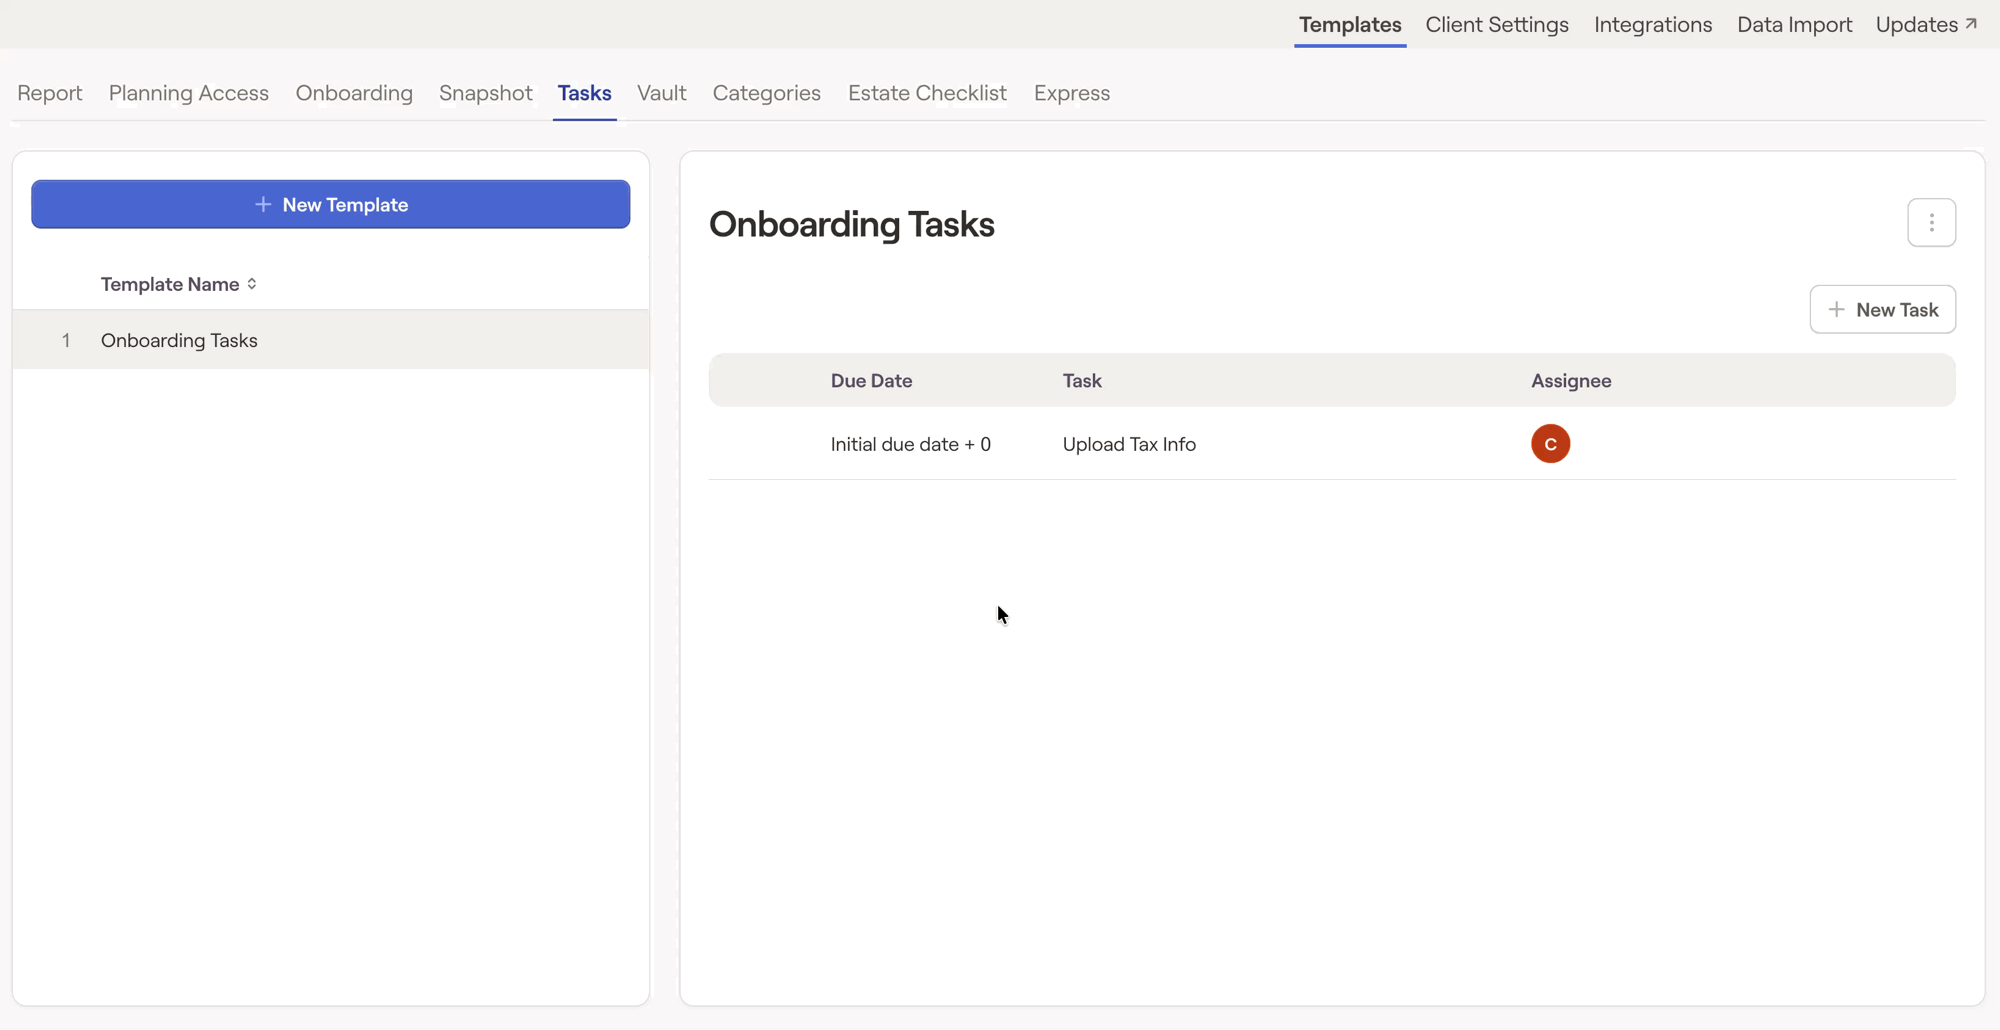
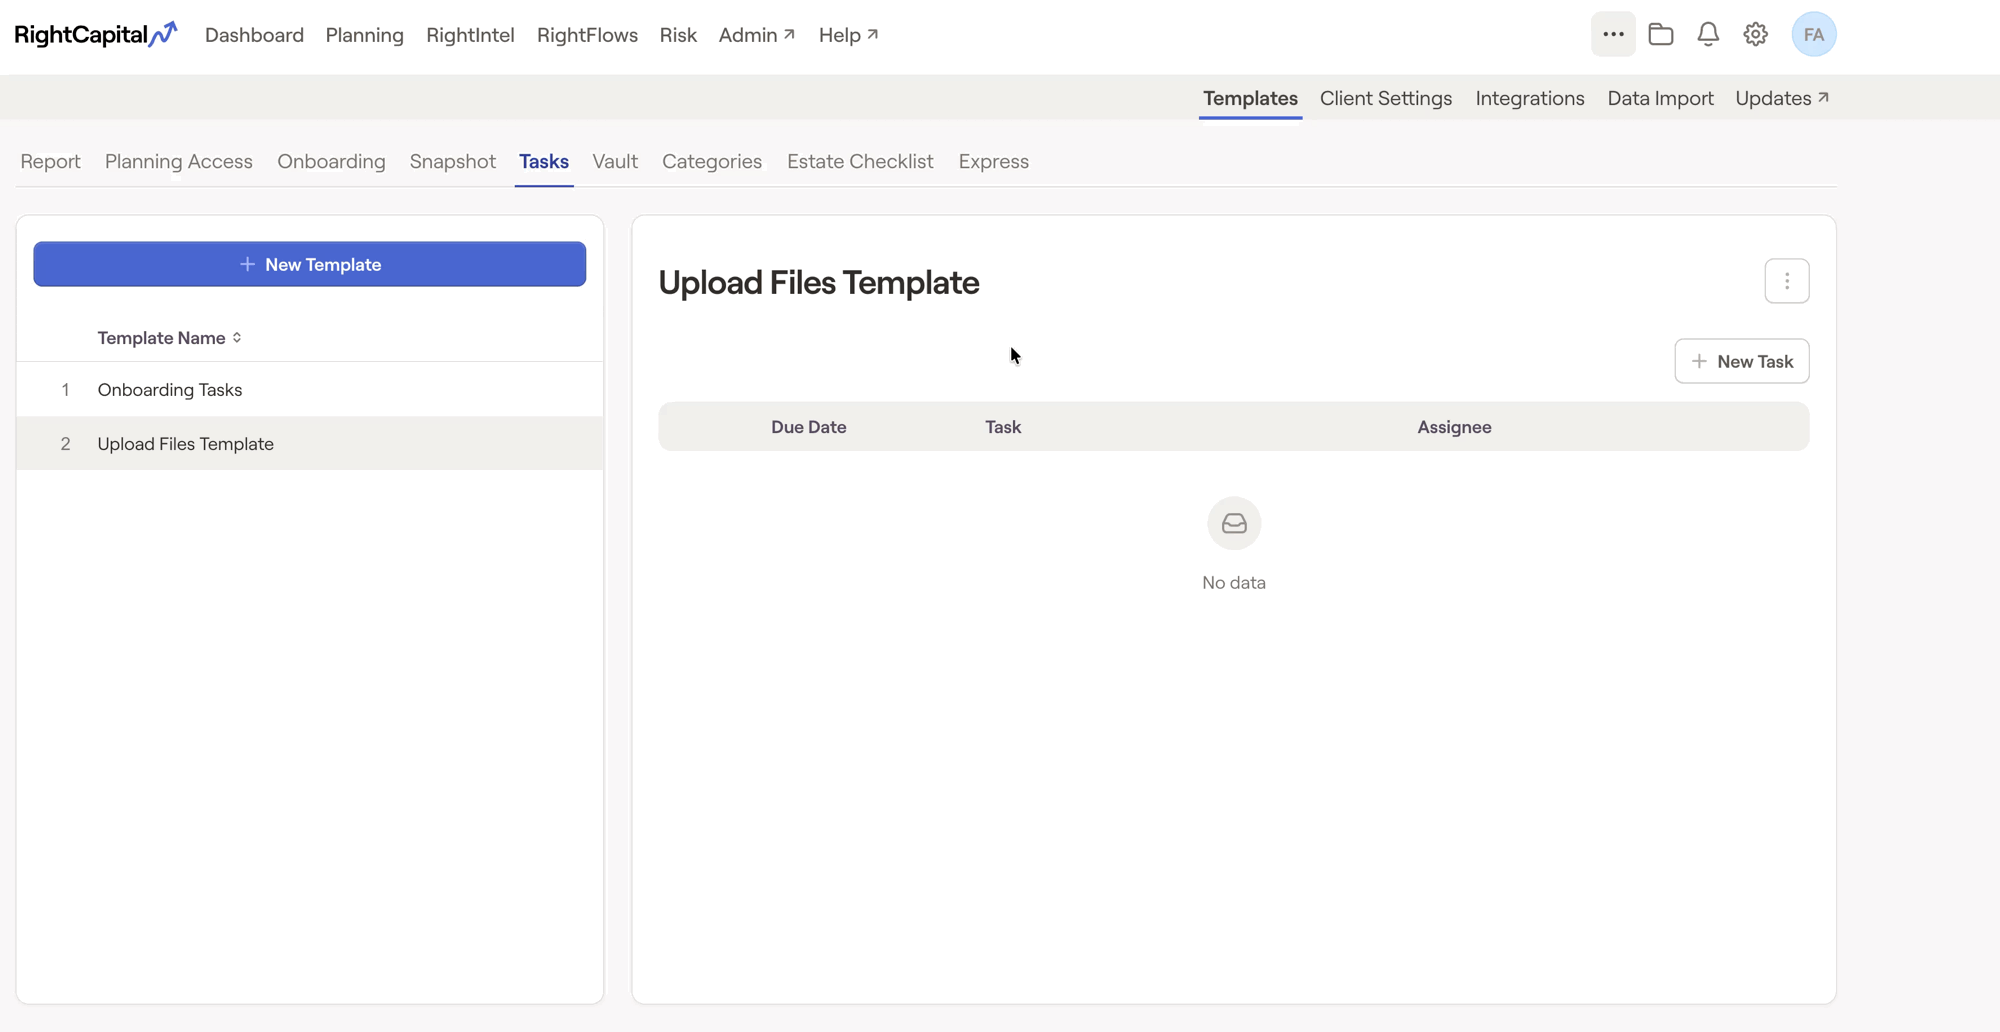
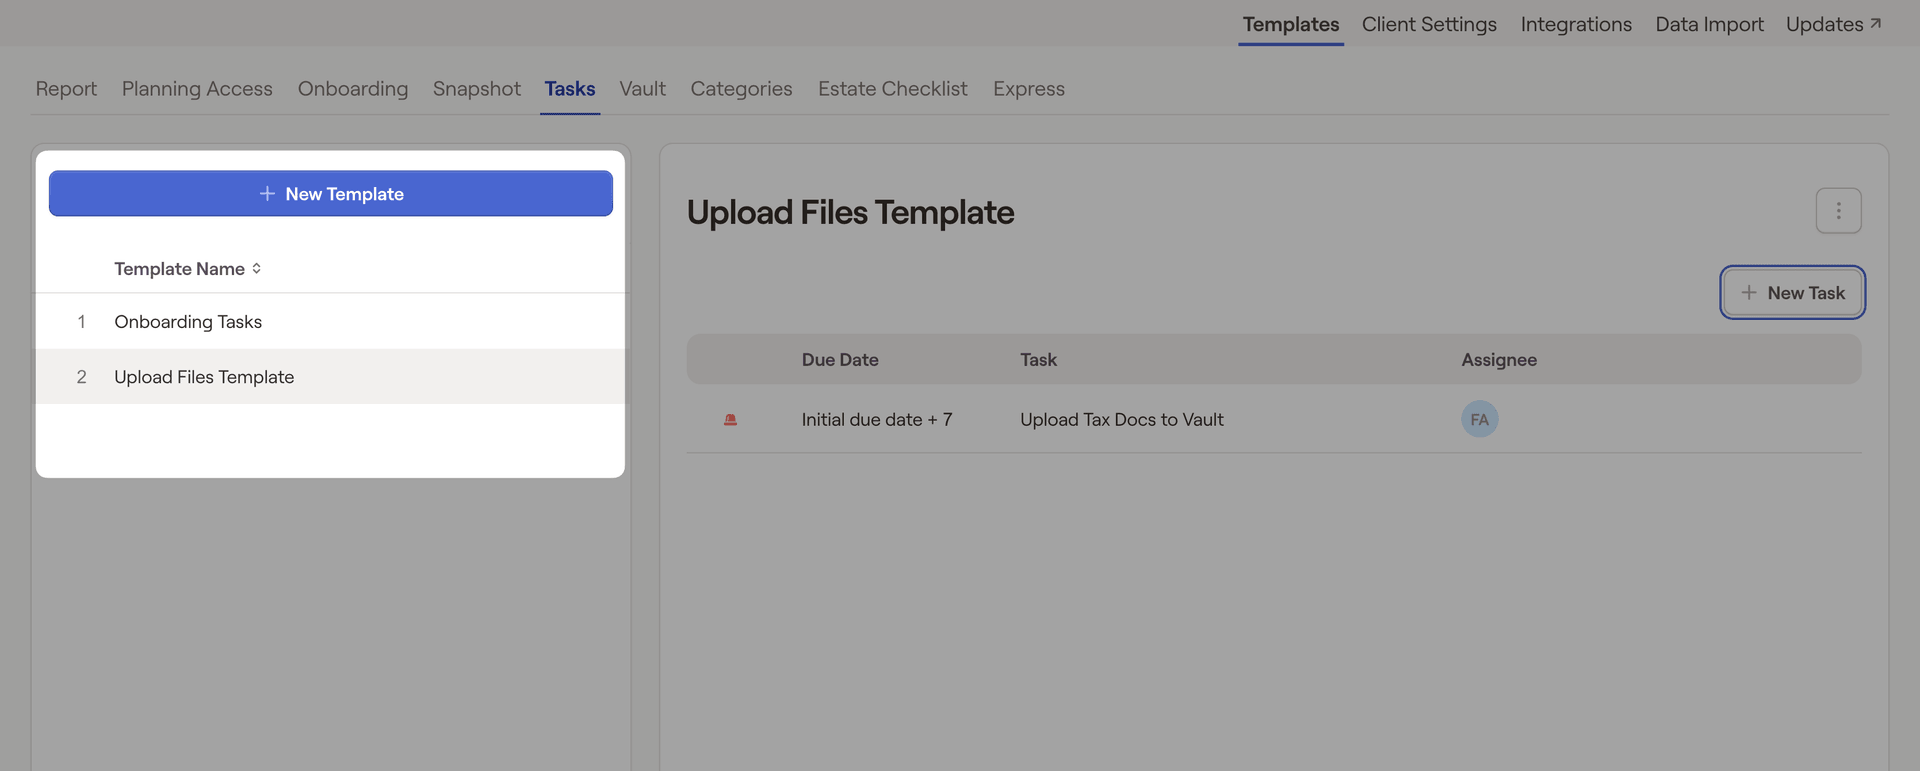
Tasks Templates
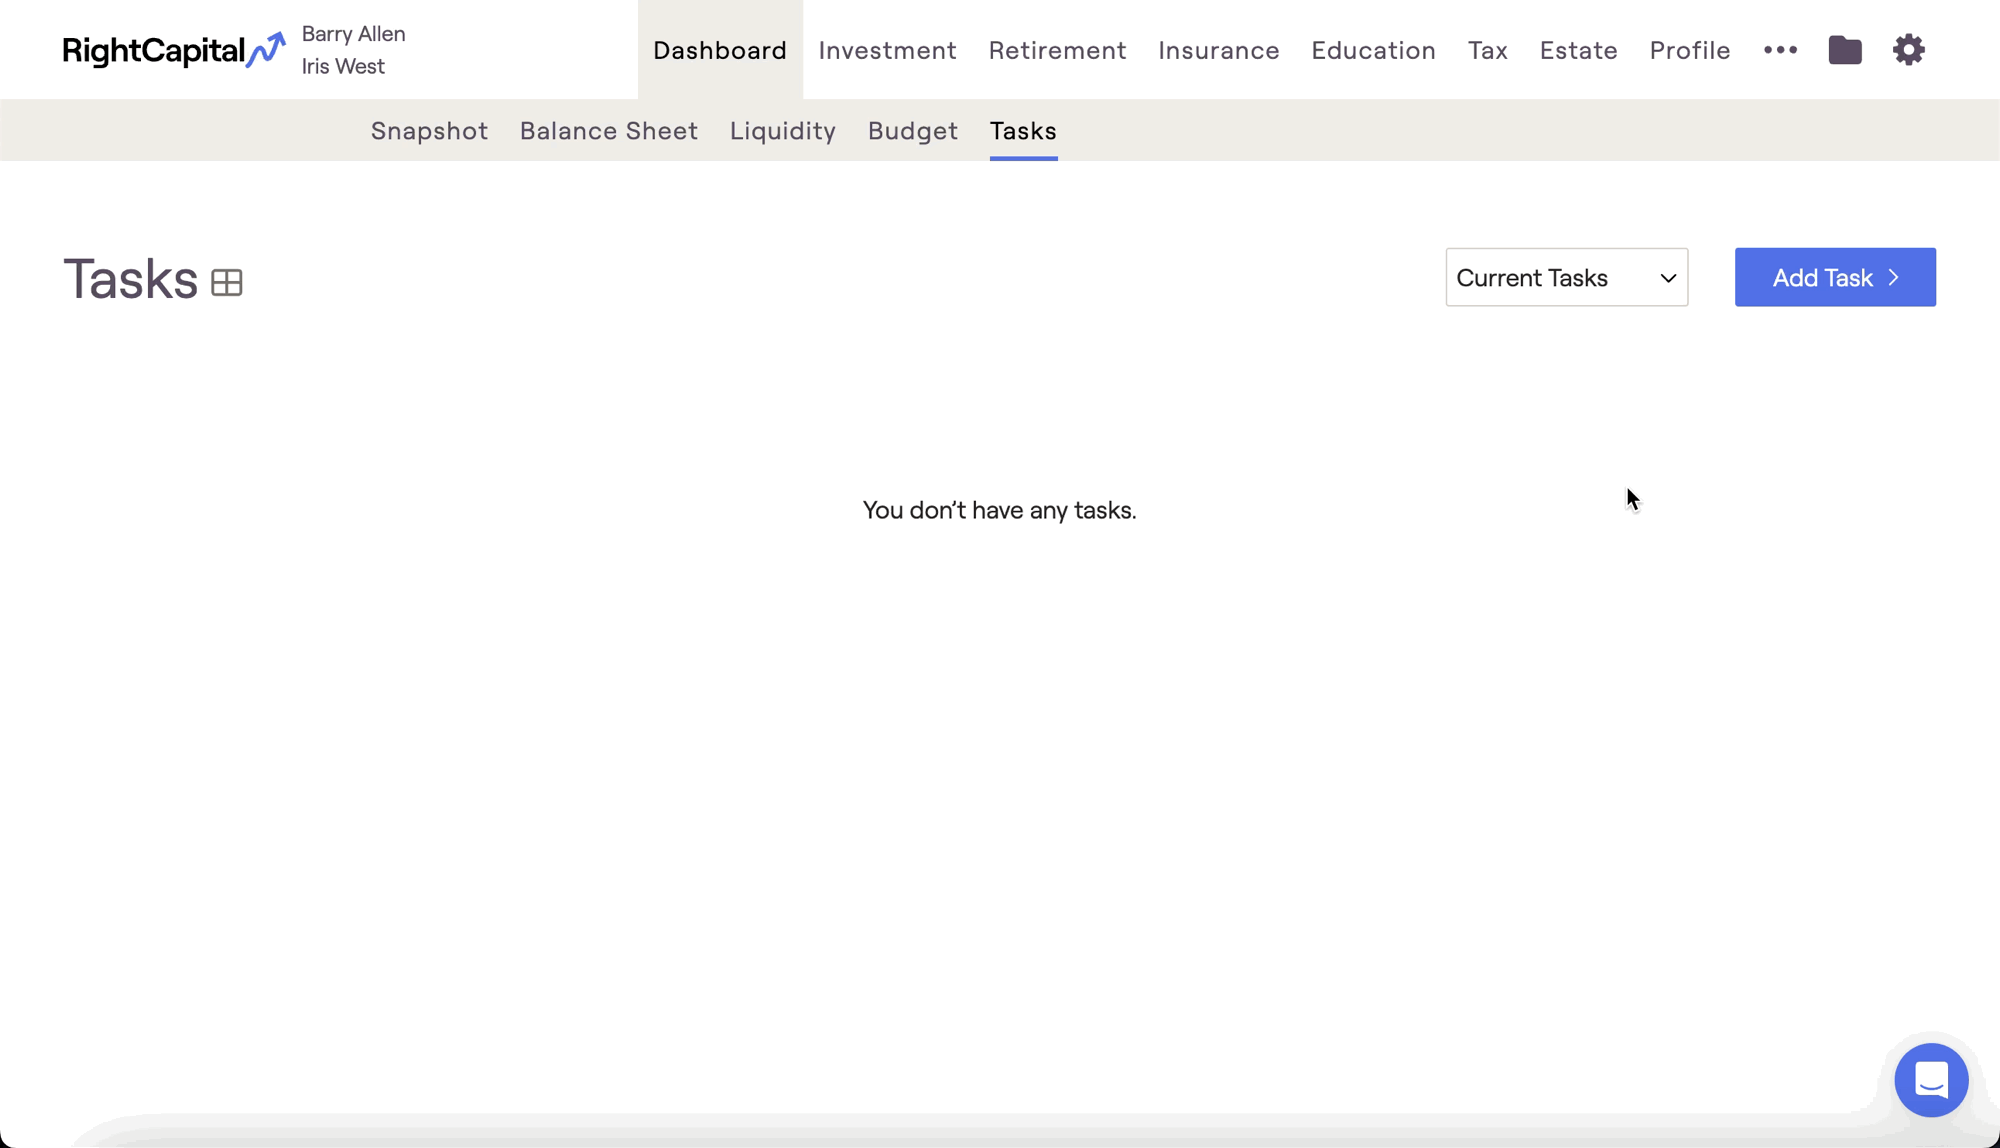
Within the Dashboard > Tasks tab of each client plan, you can create and assign tasks to keep your clients on track toward achieving their goals. While you can always create one task at a time, you can also create Task Templates. These templates allow you to curate a sequential set of multiple tasks, and assign them all at once within a client plan.
Create a Task Template

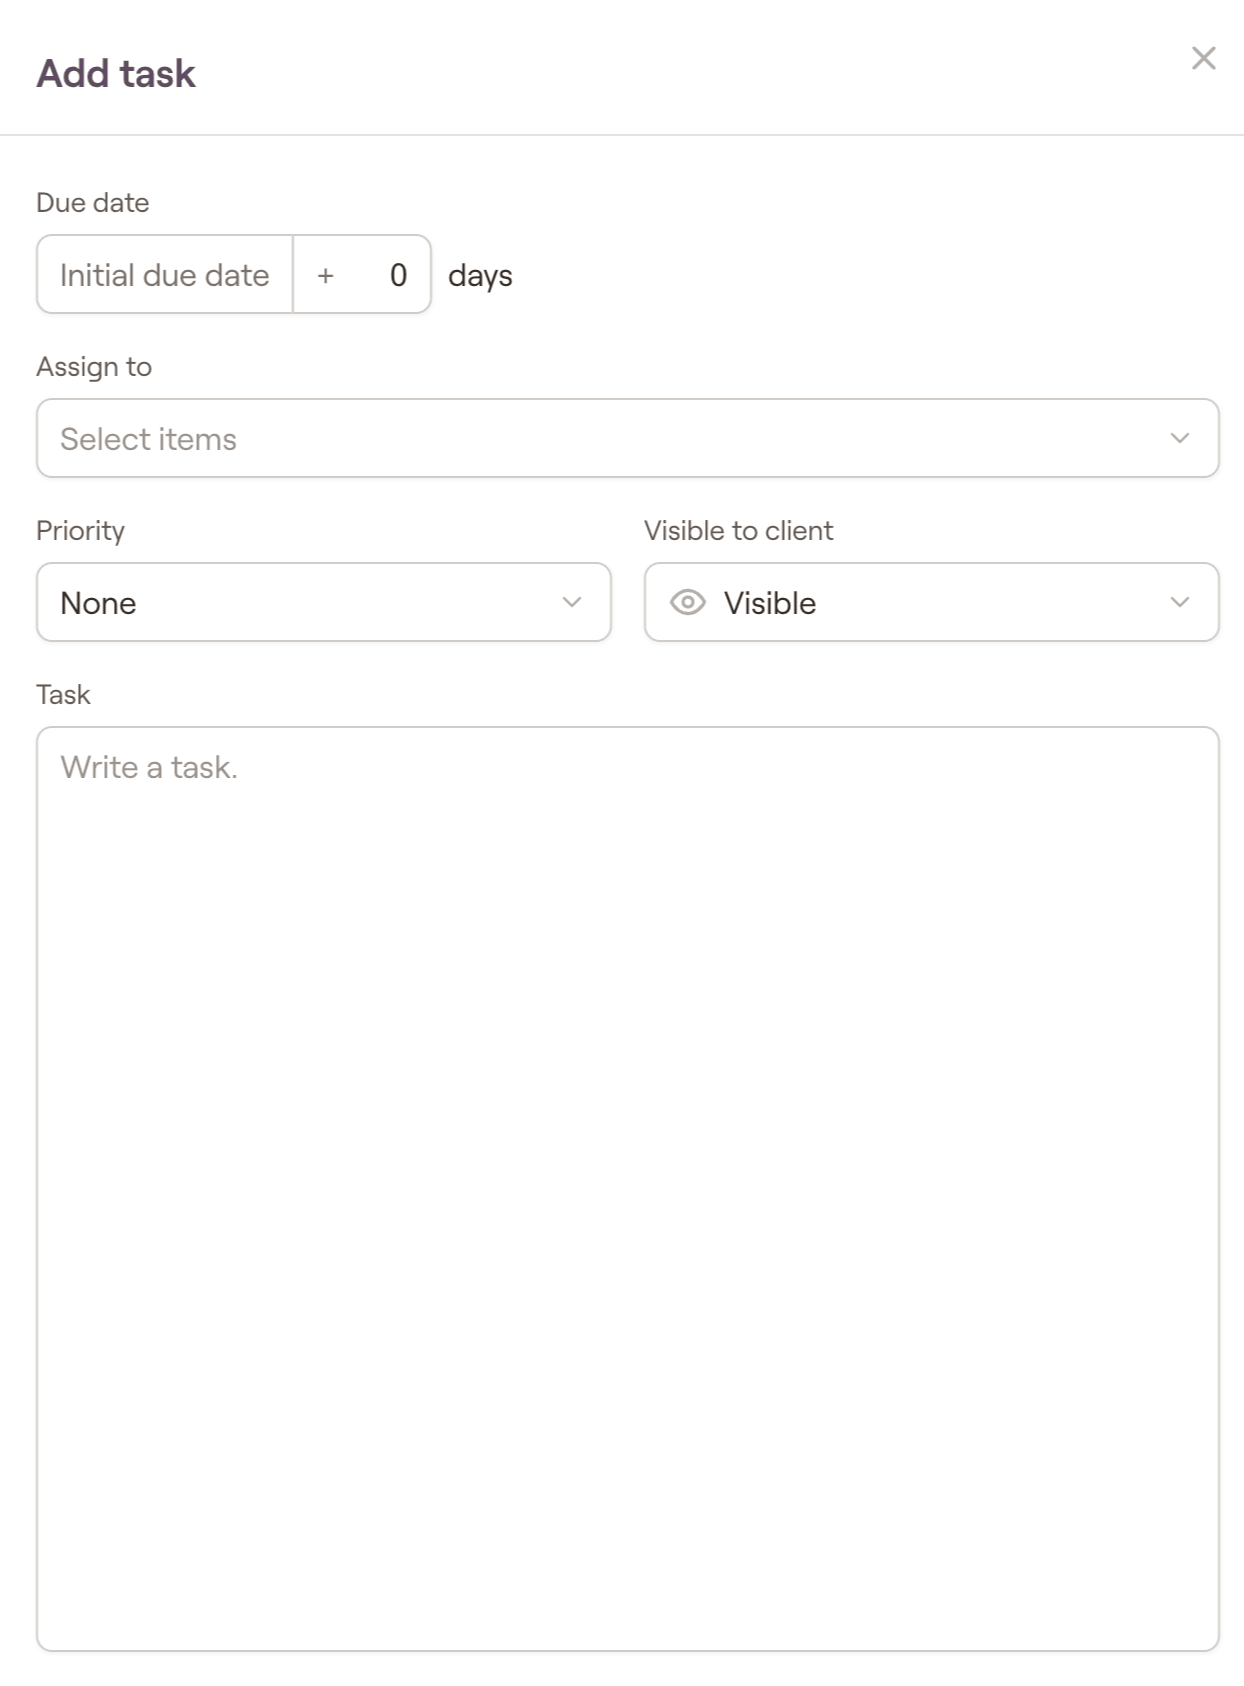
To begin adding tasks to your template, click the 'Add Task' button to the far right. This will open a drawer on the right of your screen, allowing you to enter the task details:
Entry | Description |
|---|---|
Due date | Select the date on which the task will be due. The due date for the task will be the "initial due date" (the day you assign the template), + the number of days you select. |
Assign to | Choose one or more individuals to complete the task. Tasks can be assigned to the client/co-client, as well as advisors/assistants. |
Priority | Assign the task a priority level. Click the exclamation point icon to toggle between priority levels. Options include High, Low, and None. |
Visible to client | Decide whether the task will be visible on the client side. Click the eye icon to toggle between visible and not visible. |
Task | Write the description for your task. Highlight a word within the text box to make a text format menu appear, allowing you add hyperlinks, numbered/bullet lists, and bold/italic text. |
Modify a Task Template
Apply a Task Template
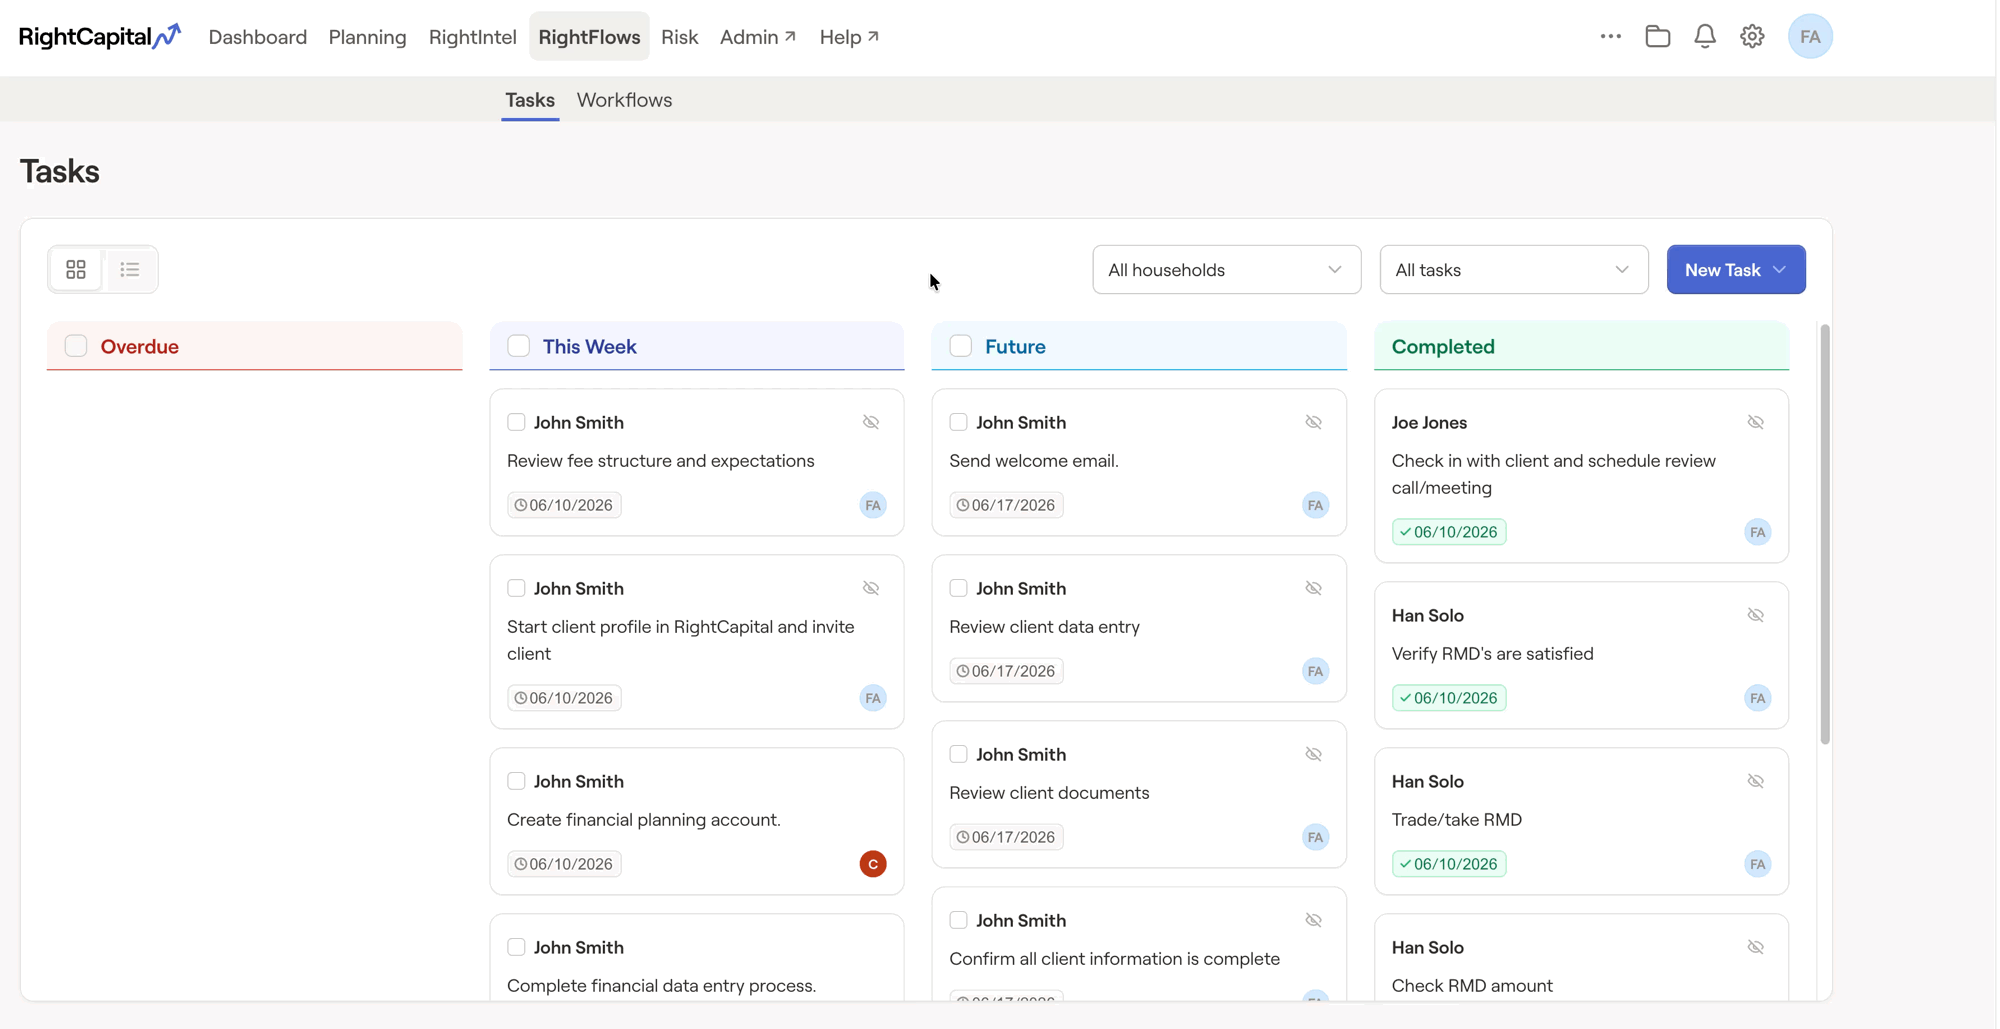
Task templates can be applied within two areas: the Consolidated Task List in the Advisor Portal, and the Dashboard > Tasks tab within each client plan.
If you have RightFlows enabled for your account, the consolidated task list in the Advisor Portal will be located within the RightFlows module:

After choosing a template, a drawer will open on the right side of your screen allowing you to finalize the details. If you are assigning the template within a specific client's plan, you will only need to specify the due date.
Once task templates are assigned to a client, the tasks are no longer connected to the original template in any way. You can make any changes you'd like to the assigned tasks, without impacting the template itself.
To read more about managing tasks within RightCapital, please feel free to reference the articles below:


