
Install your Logo(s)
The Negative Logo uploads your logo with a transparent background. If you do not have a transparent version of your logo, your logo designer may be able to provide one. The Negative Logo is used in-product and emails. It replaces the RightCapital logo in the top-left corner of the product experience.
Select the "upload" option next to the logo icon. A dialogue box will appear, allowing you to upload the appropriate logotype. To upload:
Drag and drop a file into the box displayed,
Select an icon on the right to upload directly from Google Drive, Dropbox, OneDrive, or Box.

The best ratio is 5:1 (width: height), and the best dimensions are 1920px by 384px.
A panoramic/rectangular logo (versus a square one) looks best and appears larger on Reports and the screen.
For best results, use a transparent .png file. If you don't have a transparent .png file, your logo designer may be able to provide one for you.
Ensure that your logo file is cropped to include only the logo, without a large margin above and below the logo. The system will automatically fit your logo file to the available space, so any blank space above or below the logo will cause the logo to show up skewed (or "squished").
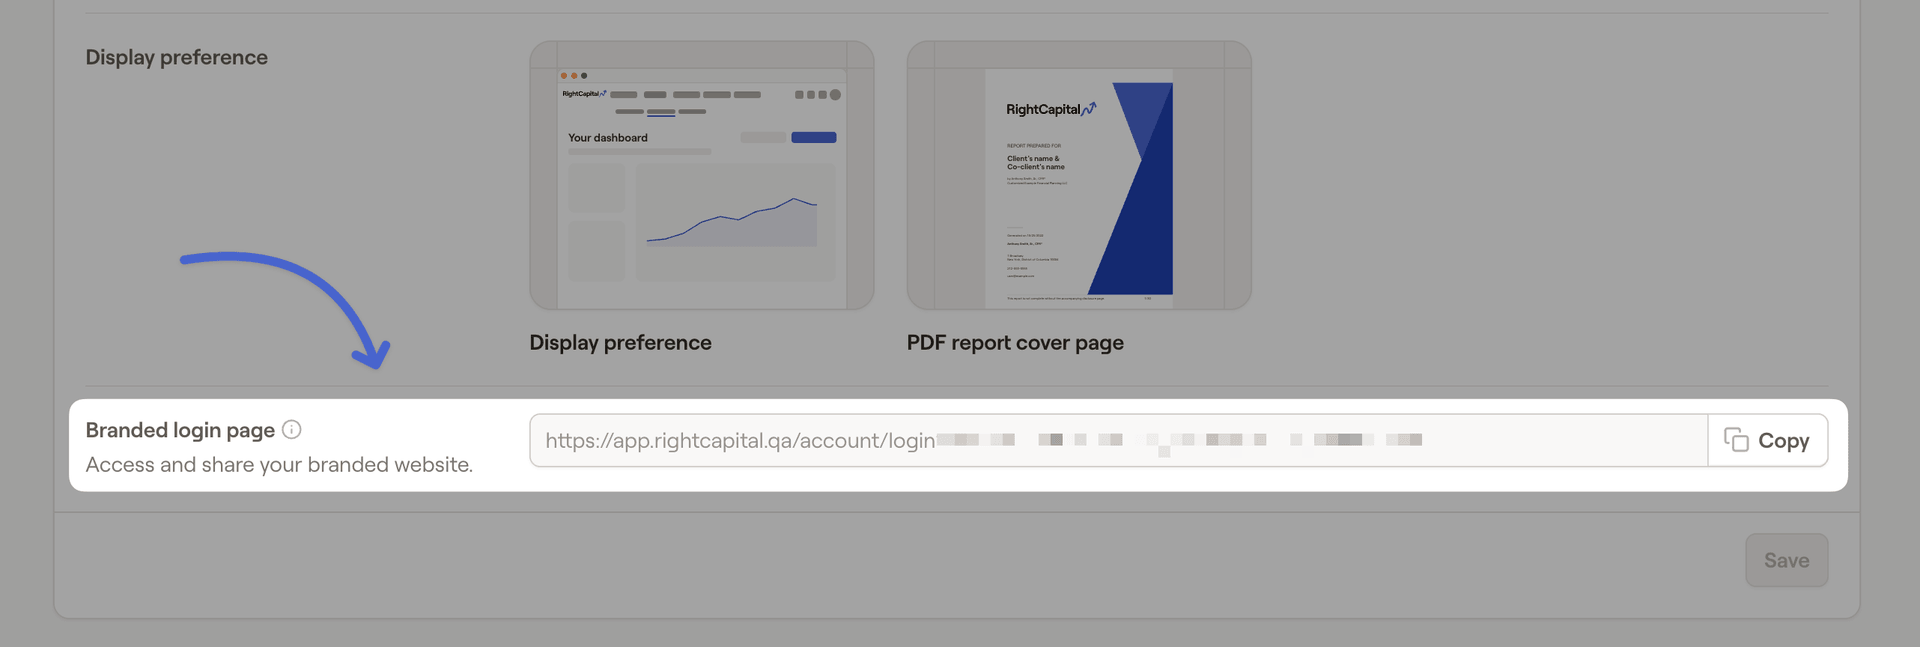
Branded Login Page
The Branded Login URL can be sent to clients after they have created their RightCapital login. Embed this link on your website and send it to clients via email. If a client has not started their account, invite them to do so.
Color Theme
Click # to the left of the HEX code to select the preferred color from a color palette (works in modern browsers like Chrome, Safari, and Firefox). Alternatively, enter a specific HEX color code into the box provided. If you aren't certain of a certain color's HEX code, you can use the color dropper to immediately identify and apply a specific color.

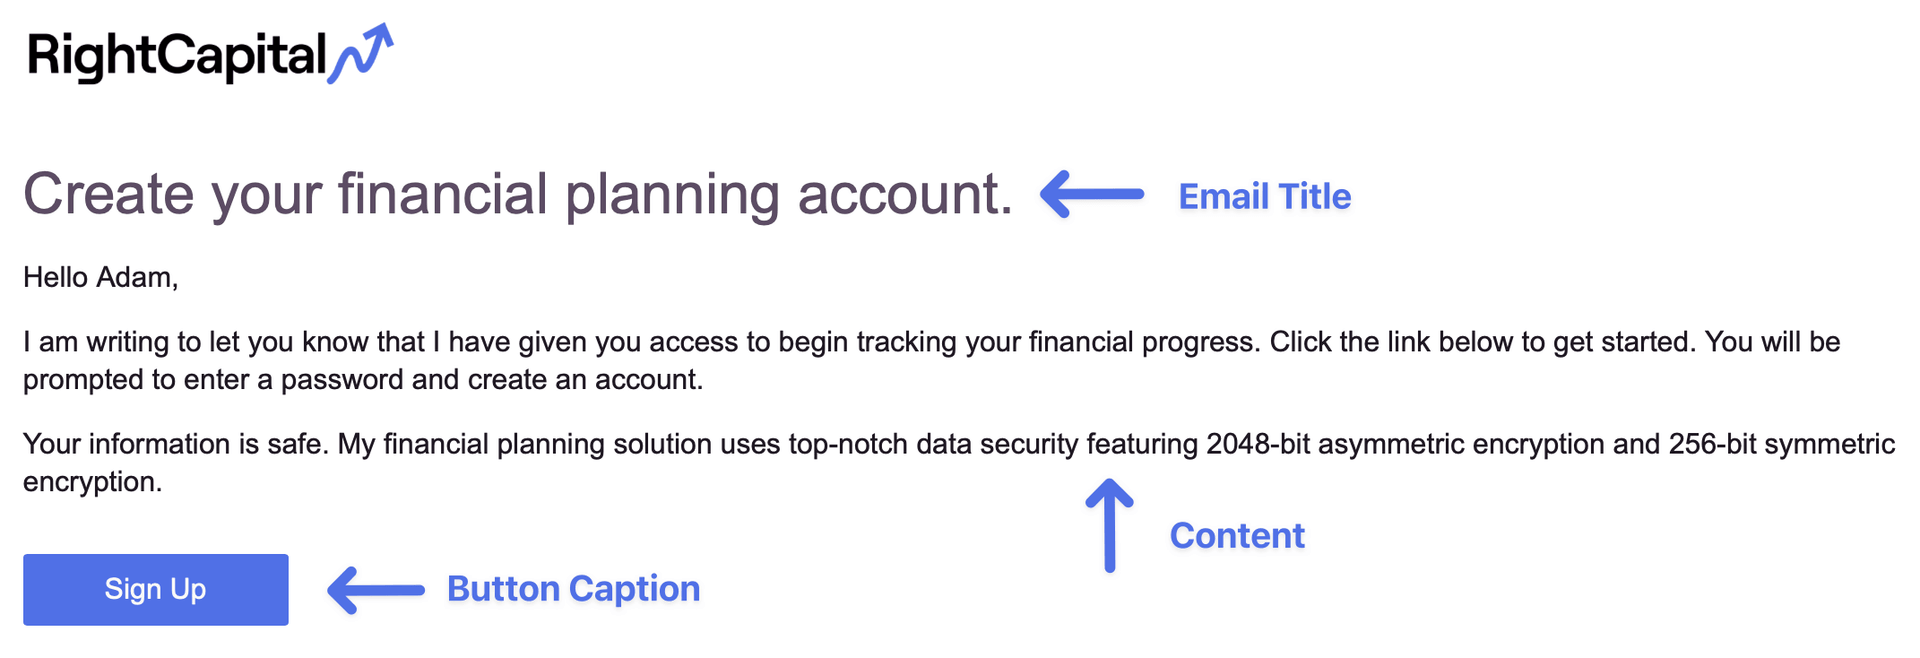
Customize the Invitation Email
Put the finishing touches on your stellar brand experience. Personalize the invitation emails sent to your clients in the Advisor Portal > Gear Icon > Account > Customization screen.
- The first email template is sent to clients for whom you have already completed the six-step data-entry process.
The second email is sent to clients still in the six-step data entry process.

The updates made will be reflected in the email sent to clients as illustrated below:
Now you've got a stellar and cohesive brand experience for your clients!


