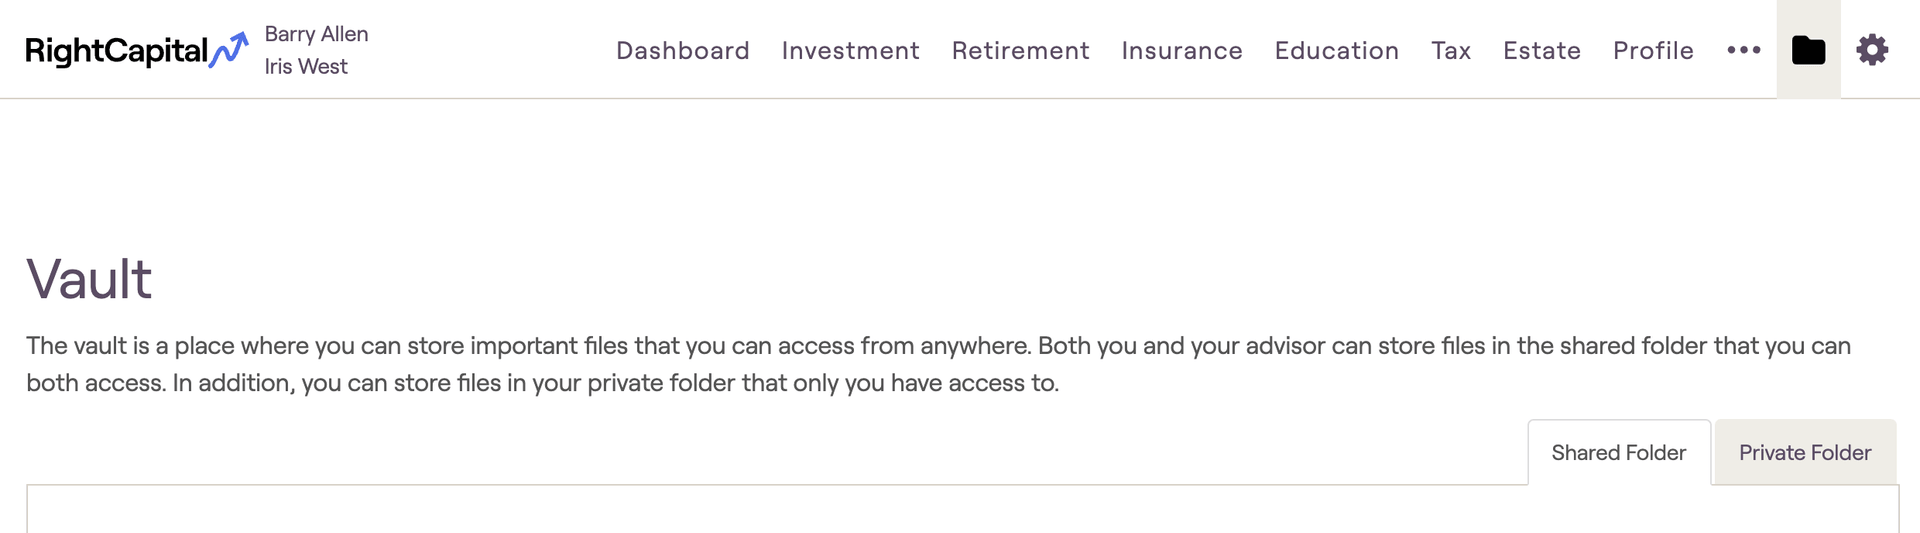
RightCapital's Vault storage provides you and your clients with an easily accessible, highly secure location to share documents and other files, directly within a client's financial plan. Within each plan, the client vault can be accessed via the Folder icon in the upper right corner:
Looking for the Advisor Portal Vault?
This article provides an overview of the client-level, household-specific vault found within each client plan. For an overview of the advisor-level vault found within the Advisor Portal, click here.
Each client's vault will consist of two subfolders: the Shared Folder, and the Private Folder:
The Shared folder is where you and your clients can share documents and other files with one another. This folder is accessible when viewing the plan from the advisor perspective, as well as from the client perspective. Any files uploaded here will be seen by both you and the client.
The Private folder is where you and your clients can upload private documents. Any documents uploaded here will only be seen by you. The client will also have a separate private folder where they can upload documents; you will not see those documents.
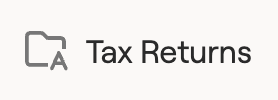
Pro-Tip - File Icons:
File icons with an "A" indicate that the advisor uploaded the file. This allows you to easily differentiate advisor-uploaded files from client-uploaded files:
To upload files to the Vault, click the Add File button in the upper right. This will open a window, allowing you to choose files from your computer, or drag and drop a file directly into the window.You can also use the icons on the left to import documents from outside sources such as Google Drive, Dropbox, and OneDrive.
You can choose to upload just one file, or multiple files at once. After selecting your file(s), click the Add to Vault button in the lower right of the pop-up window to initiate the upload. Once complete, the files will be accessible within the Vault.
Important Note: File Size
While there is no limit on the total number of files you and your clients can load into the Vault, please note that individual files must be under 25 MB in size.
Setting up folders can be a helpful way to manage the files within the Vault. To add a new folder, click the Create Folder button in the upper right. After typing in the name of your new folder, click the blue checkmark to the right of the textbox to save the folder:
Once you create a folder, you can add files to it by clicking into the folder and uploading files directly,or by dragging and dropping existing vault files into the new folder:
Pro-Tip: Vault Templates
Vault Templates allow you to create folder layouts in advance, and easily apply them to one or more clients. Click here for more.
Once added to the Vault, files can be downloaded at any time by checking the box(es) to the left of the file name, and then clicking the Download icon that appears at the top:
When downloading multiple files simultaneously, RightCapital will create a .zip file that includes all the selected files. Files can be deleted via this same method.
Files can also be renamed within the vault, by clicking the "..." icon to the right of a file name and then choosing the Rename option. After typing in the new name of your file, click the blue checkmark to the right of the textbox to save your changes:
Please note: clients can download any files you have uploaded into the Shared Folder via the method above. However, clients will not be able to rename or delete files that you, as the advisor, have uploaded. Clients can rename or delete any files that they have added themselves.
To view a preview of a file within the vault, simply click on the file name. This will cause a preview screen to appear, allowing you to view the file without having to download it. If there are multiple files within the folder you are viewing, you can toggle through those files using the arrows on either side of the preview:
You can also download files directly from the preview screen, using the Download button in the upper right of the preview. To leave the preview screen, click the 'x' icon in the upper right corner.
In order for clients to access their vault, they must be invited to access their RightCapital plan. After accepting their invitation, clients can access the vault via the Folder icon in the upper right of their client portal:
Please note that in order for clients to see this tab, they must be given access to the Vault within their Planning Access checklist. If you are using the RC default for planning access, the vault will be checked by default:
If you are virtually onboarding your client and have added the vault within their Onboarding tab, they will also be able to access the vault as part of their virtual data entry template. This allows the client to share documents with you during the initial data entry process:
You and your clients can choose to receive vault activity notifications via email. Advisor notifications can be adjusted by navigating to Advisor Portal >Bell Icon> Notification Settings tab:
Here, you can choose to receive email updates when your clients upload files to the vault, download files from the vault, or both. These updates can be sent immediately, or as part of your daily report email (sent once daily at 11:00 a.m. ET).
Similarly, clients can choose to receive email notifications when you upload files to their vault. Clients can do this by logging into their Client Portal and navigating to Gear Icon > Notifications.
The default vault notification setting for clients can be set at a global level in the Advisor Portal > Client Settings > Notifications tab. To read more about global client notification settings, click here.
Contact Us
For additional assistance within RightCapital please contact our Support team.
Educational Webinars
RightCapital is committed to enabling your success. Each week, we cover essential planning modules and product updates.
RightCapital in Action
Check out our YouTube channel where we highlight Advisor Success Stories and share more Tips & Tricks!