Your Guide to Custom Risk Assessments in RightCapital
Risk tolerance questionnaires are designed to simplify the important task of assessing a client's willingness and ability to endure market uncertainty. While many platforms offer only a single, default questionnaire, RightCapital puts you in the driver's seat, giving you the flexibility to create your own risk tolerance questionnaires and assign them to clients of your choosing.
This article will walk you through the process of creating a custom risk assessment questionnaire in RightCapital. This feature is available as a part of RightCapital's premium and platinum subscription tiers.
Not at all. Household risk scores can be manually set without utilizing a questionnaire, although in many cases the results of a personalized and finely-tuned questionnaire can be a revealing and helpful frame of reference. Feel free to create and assign questionnaires at your own discretion.
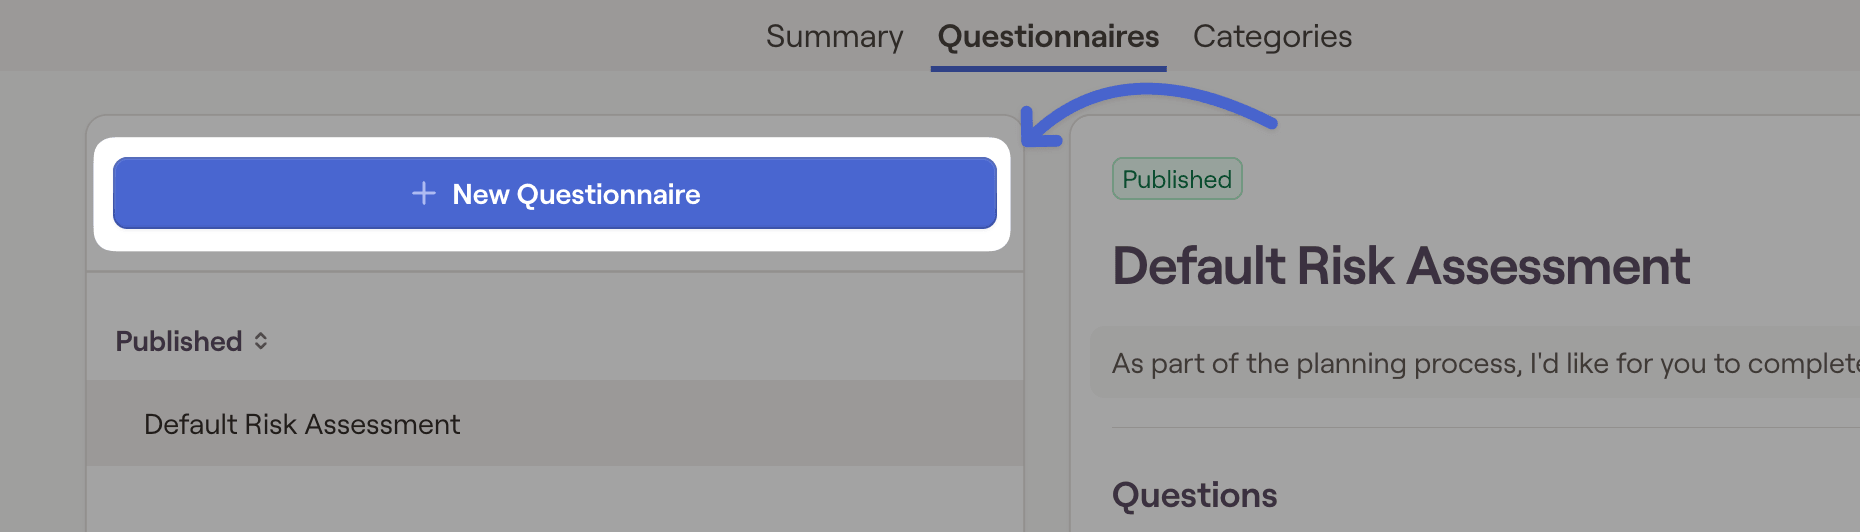
Add a New Questionnaire

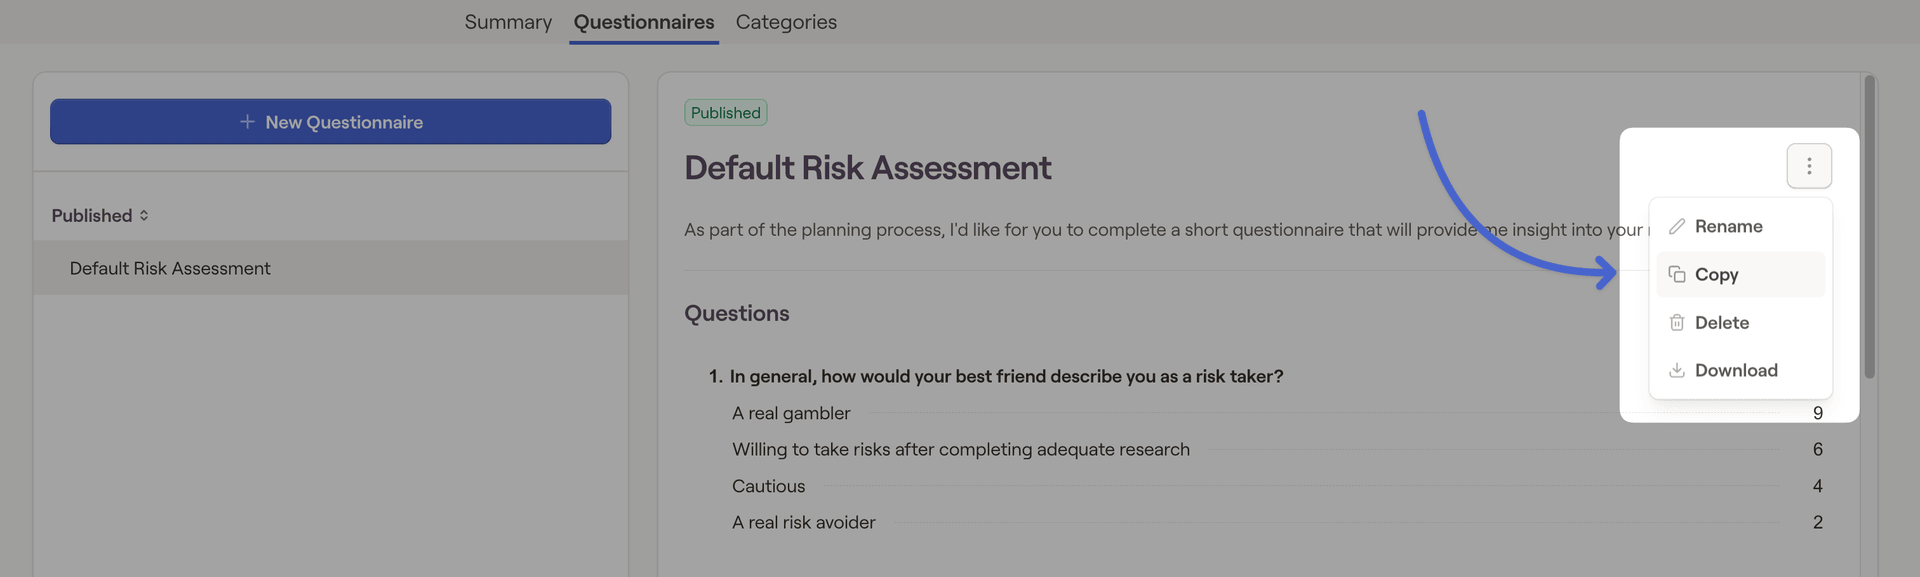
If you want to copy an existing questionnaire instead of starting from scratch, you can instead click the "..." icon next to the questionnaire title, and then click "Copy":
Creating Your Questionnaire
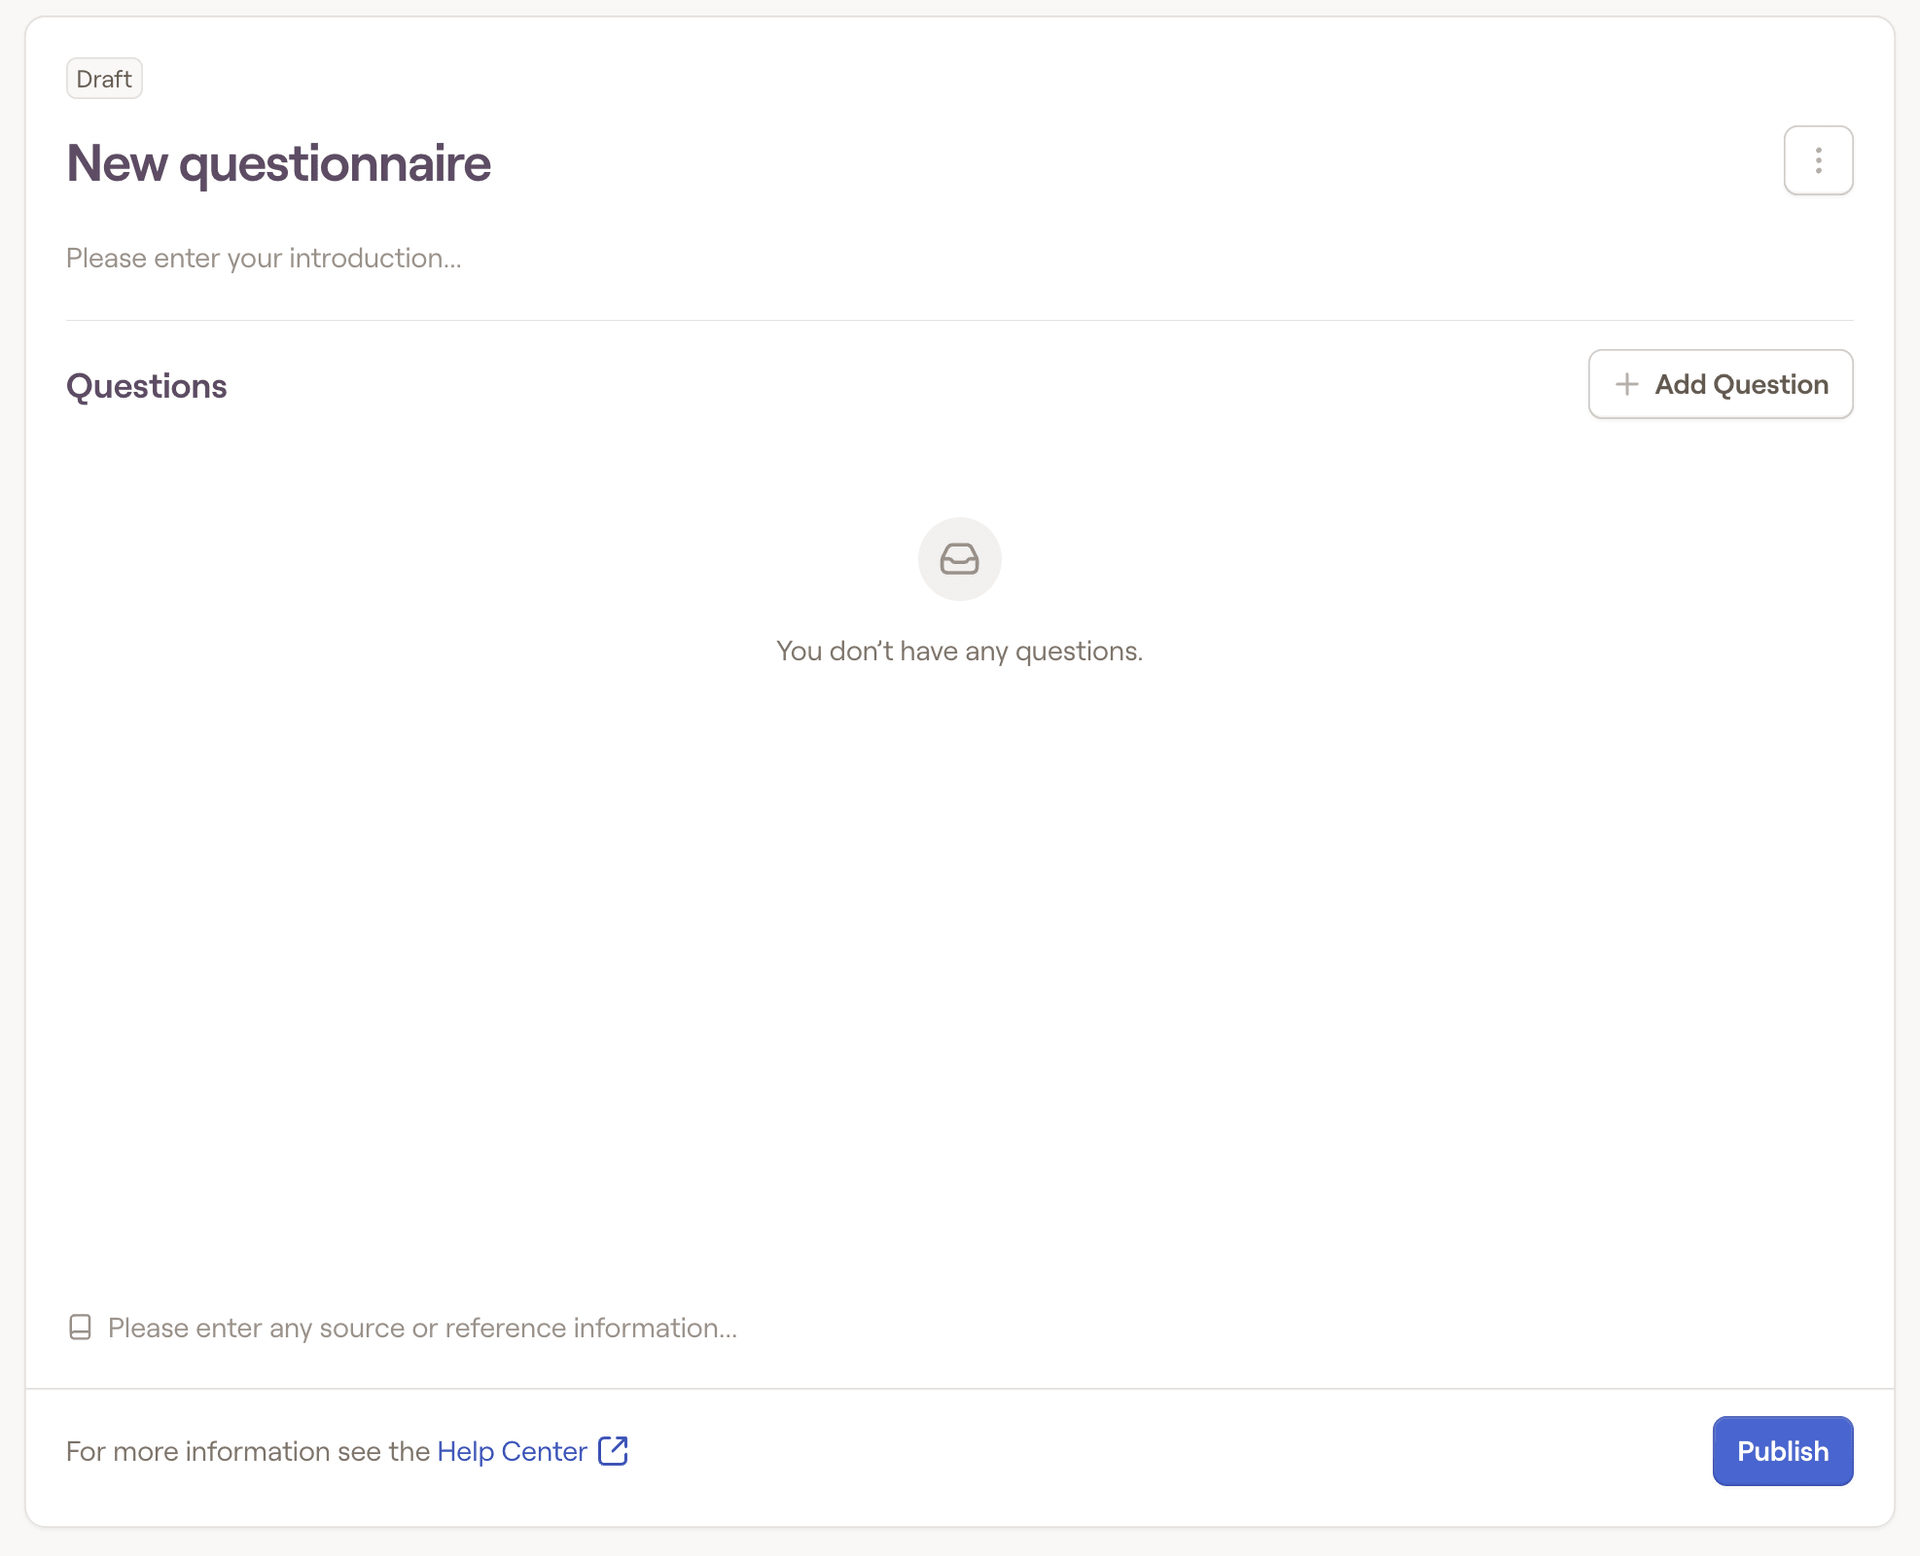
Each questionnaire that is added will start as a draft titled "New questionnaire". This is a completely blank slate:
Name & Introduction
If your client has been invited to their plan and you plan for them to complete this questionnaire remotely, it is recommended that you add an introduction to your questionnaire.
For more on what invited clients see after being assigned a questionnaire, please see our article Client Experience: Risk Questionnaires.
Questions & Responses
You can also choose to incorporate rich text and images into your questionnaires. To add an image to a question, click the "Upload image" button. To use rich text features (bold, italics, etc.), simply highlight one or more words in your question or any of the responses:
Review & Publish
Once you have finished entering all of your questions and responses, your questionnaire is almost done! While it is still in the "draft" phase, we recommended giving the questionnaire a thorough once-over to double check for accuracy and correct any mistakes.

After creating and publishing your custom questionnaire, you are free to assign that questionnaire to any of your clients going forward. For a walkthrough of Assigning Risk Questionnaires in RightCapital, click here.


